Identify the exact Yakima RailBar Cover and Latch Fix Kit, follow its spring-loaded toggle procedure, and check the rack using current instructions.
On this page
How to Replace a Yakima RailBar Cover and Latch
Yakima’s RailBar Cover and Latch Fix Kit instructions describe replacing the system’s left and right toggles and leg covers. They apply to the named RailBar system and kit, not to other towers or bars that look similar. Before removing a part, confirm the rack family and check that the current instructions match the system. This guide does not establish that the kit fits every RailBar generation or is currently available in every market.
Confirm the kit and tools
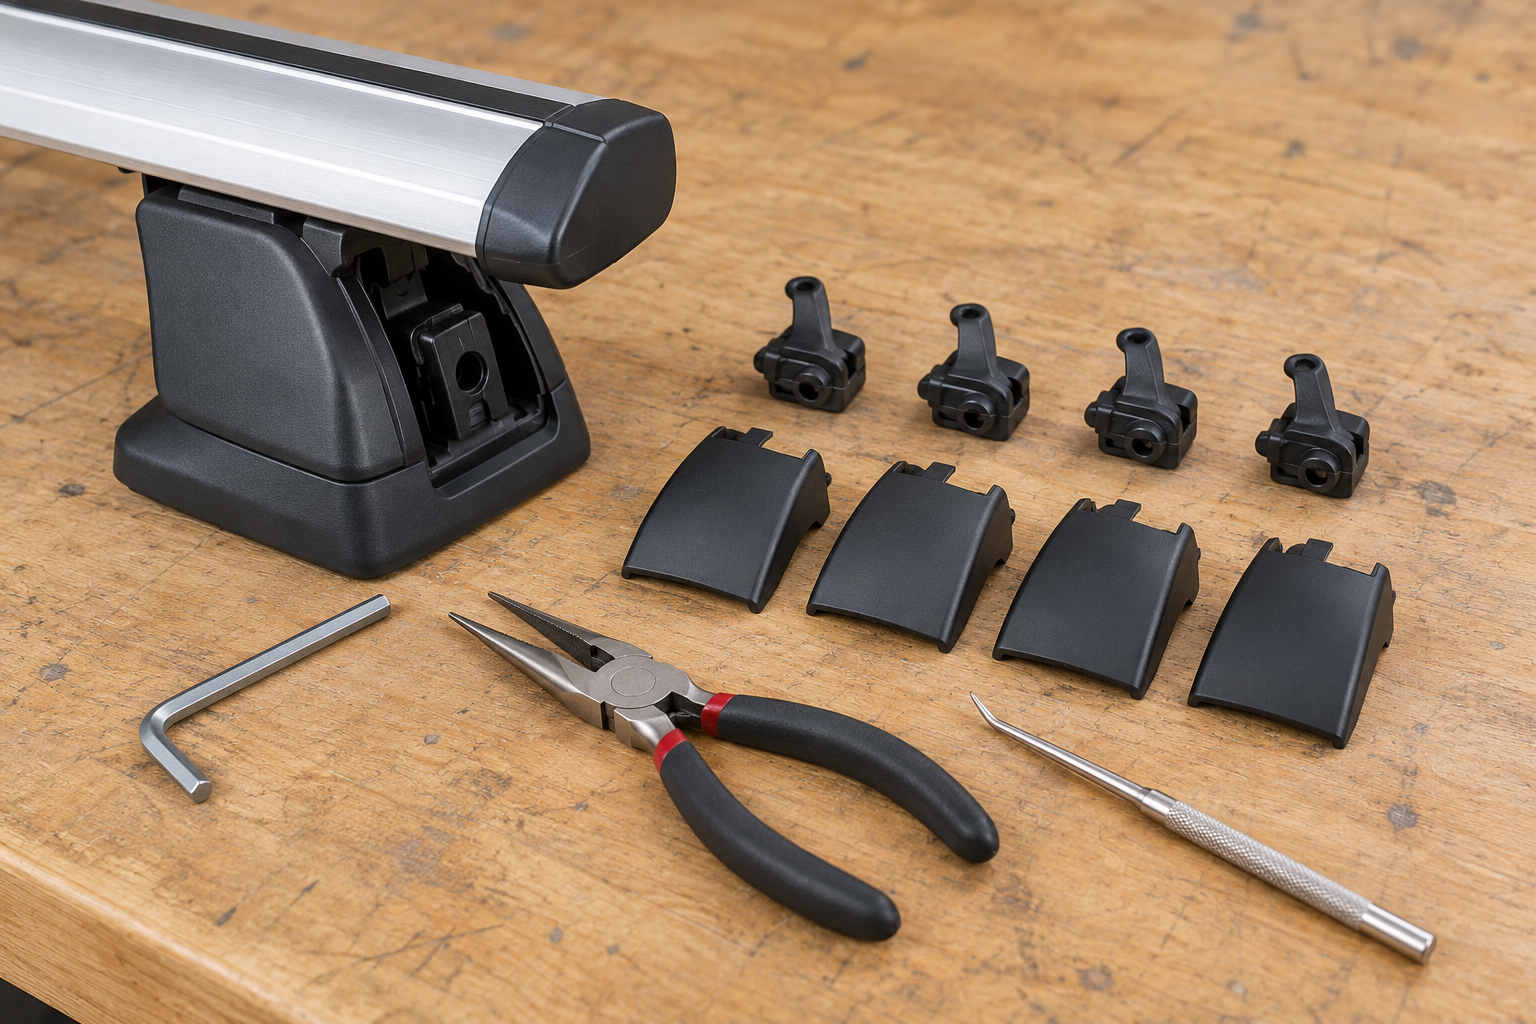
The instructions identify two left and two right toggles, plus two left and two right leg covers. They list a 5 mm hex wrench, long-nose pliers, and a pointed metal pick as the tools for the procedure. Check the kit contents before starting. If parts are missing or damaged, or the kit does not match the identified RailBar, contact Yakima for guidance rather than substituting a similar cover or toggle.
The U.S. Yakima spare-parts page provides a product and part-number lookup route. A listing or archived-product result helps with identification but does not establish that a kit matches your rack or is in stock. Confirm the exact application and current availability for the market where the rack is serviced.
Follow the named instructions
- Use the keys supplied with the RailBars to unlock the legs. Hold the key vertically and pull each old cover away from the leg as described in the instructions.
- With a 5 mm hex wrench, remove the leg bolt. Separate and keep the bolt, clamp, and nut for reassembly. Pull the leg assembly out of the aluminum bar.
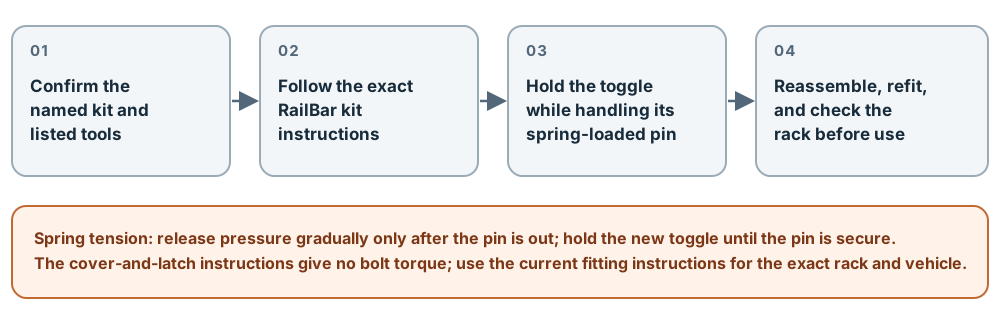
- Hold the toggle while using the pointed metal pick to push its pin across. The toggle is under spring tension and can move when the pin is released. Keep a finger on the toggle, turn the leg over, and use long-nose pliers to withdraw the pin from the other side. Gradually release the spring pressure only after the pin is out.
- Place the new toggle on the spring in the position shown by the instructions. Hold it down while reinserting the pin through the spring housing and toggle until the pin is secure on the other side; then release the toggle.
- Slide the leg assembly back into the bar. Reattach the clamp and nut, then fasten the bolt with the 5 mm hex wrench. The cover-and-latch instructions do not give a bolt torque value. Use the current fitting instructions for the exact rack and vehicle; do not borrow a value from another Yakima product or tighten by guesswork.
- With the leg lock in the horizontal, locked position, slide the matching replacement cover into the leg. The instructions say it is secure when it clicks into place. Repeat the process for the other legs.
The linked manufacturer instructions show the full sequence and illustrations. Read them before beginning and keep them available during the work. This article is a guide to that named procedure, not permission to apply it to another product family.
Check the rack before using it
Whenever the rack is refitted to the vehicle, use its current fitting instructions and check that it is securely attached. Yakima’s RailBar kit instructions say to refer to the fitting instructions and readjust if the rack feels loose. They also call for regular checks of fasteners on the rack and attached accessories. If an attachment moves, a fastener is damaged or missing, or the correct tightening procedure is unclear, do not carry a load until Yakima or a qualified rack dealer confirms the next step.
Keep the product identity, kit details, and instructions with the vehicle’s rack records. Confirm compatibility and current parts availability with Yakima before ordering; a successful cover replacement does not establish that the complete rack fits a particular vehicle.
Sources and product references
Use these references to check the current instructions and fit information for your market and exact setup.
- RailBar Cover and Latch Fix Kit Instructionsprimary
- Spare Partsprimary