Use the bicycle’s real measurements and exact carrier instructions to check weight, wheel, tire, axle, fork, and frame compatibility.
On this page
Bike-Rack Fit Checks for Weight, Wheels, Forks, Frames, and E-Bikes
A bike can fall within a carrier’s weight rating and still fail its wheel, tire, axle, fork, frame, or vehicle checks. Record the actual bicycle specifications first, then compare them with the current instructions for the exact carrier model and mounting position.
Measure the bicycle you will carry
Before shopping, record:
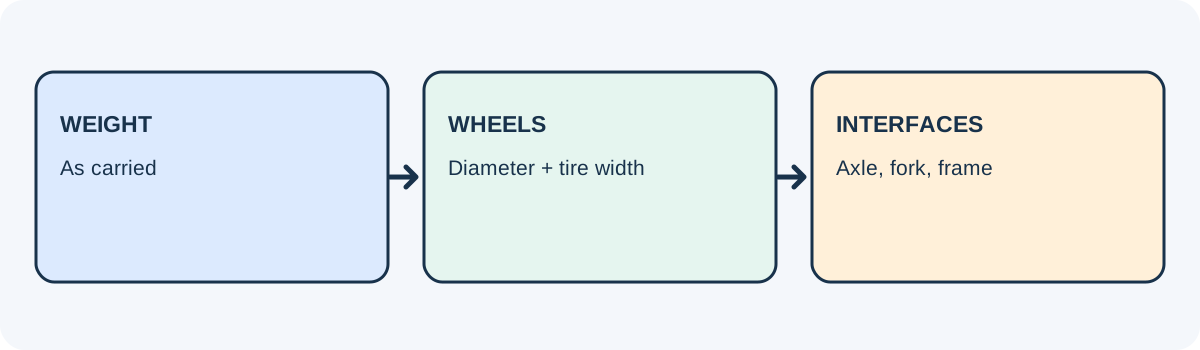
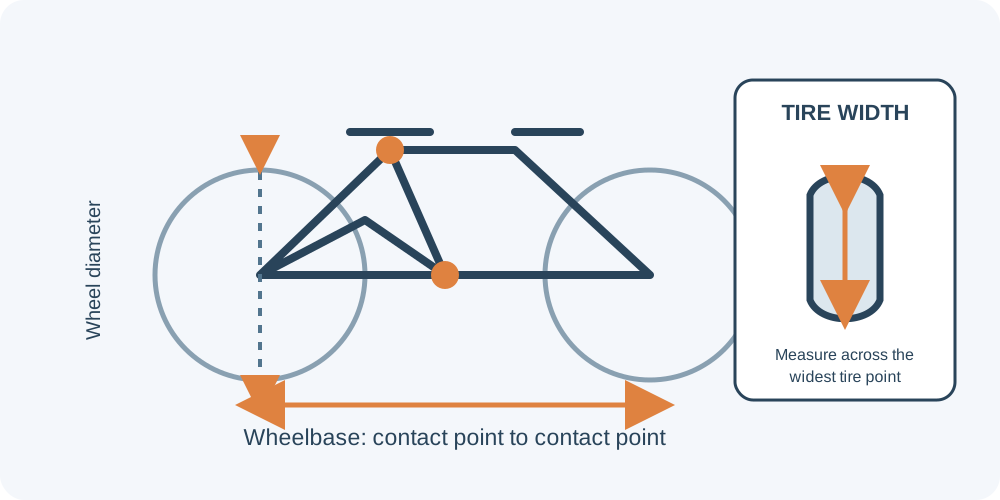
- Weight in the transport configuration. Include accessories that stay on the bike, such as racks, child seats, locks, lights, and bags. If the bicycle maker instructs you to remove a battery or other component, weigh the configuration that will actually travel.
- Wheels and tires. Check wheel diameter and measure the tire at its widest point. A carrier may accept a wheel diameter but have a narrower tire limit.
- Wheelbase. Compare the distance between the wheel contact points with the carrier’s range.
- Fork and axle. Identify quick-release or thru-axle dimensions and the fork/dropout shape. Confirm whether an adapter is needed and that the exact adapter is approved for the carrier and bicycle.
- Frame. For a frame-contact carrier, check the tube dimensions, shape, clamp location, and material. Read both the bike and carrier manuals; a broad product-page compatibility filter does not clear every frame.
Product limits belong to named models
These examples show why the numbers cannot be generalized across carriers:
| Example | Published product information | What still needs checking |
|---|---|---|
| Yakima HighRoad 8002139 | The current US listing gives a 45 lb road rating and a 27 lb off-road rating, wheel fit for 26–29 inch wheels, tires from 23 mm to 4.0 inches, and wheelbase up to 52 inches. The exact manual’s mountain-bike table lists 1.5–4.0 inch tires for 26 and 27.5 inch wheels, and 1.5–3.5 inch tires for 29 inch wheels. | Use the manual row for the actual wheel size and bike type; also verify the installed bars, exact vehicle, bike count, and all other system limits. |
| Thule FastRide 564005 | The US listing gives a 40 lb carrier capacity, 16–32 inch wheel range, maximum 3 inch tire width, and maximum 1250 mm wheelbase. It lists 9 mm quick-release use and separate thru-axle adapter options. | Match the exact axle, fork, adapter, bar interface, and current product instructions. |
The HighRoad and FastRide values are different product specifications, not a recommendation that one is safer or a confirmation that either fits a particular car. The carrier-style guide explains the contact and loading differences.
Check the complete load
Do not compare the bicycle’s weight only with the carrier’s per-bike rating. Add the weight of the roof system, carrier, every bicycle, and any other carried equipment, then compare the result with the vehicle roof and base-rack limits. Follow the exact manuals on how their limits are defined; an accessory or vehicle limit may already include some equipment. Never assume that a higher carrier rating raises a lower bar or vehicle limit.
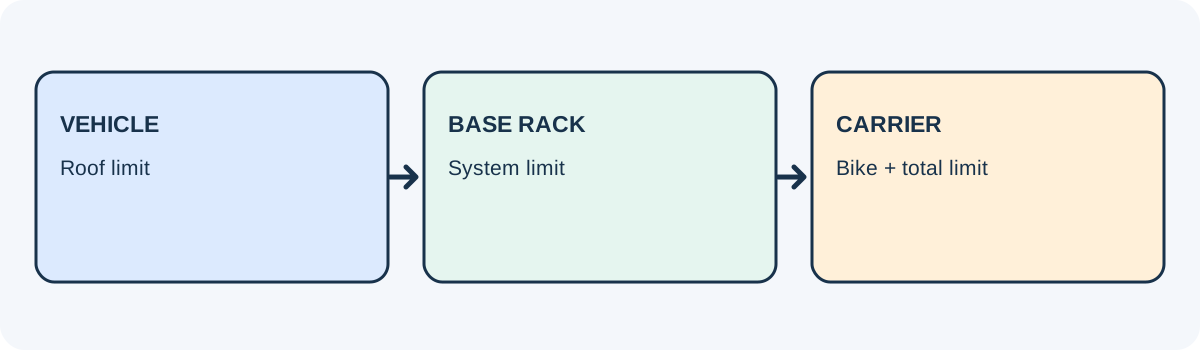
For two or more bikes, check each tray’s limit, total carrier limit, crossbar spacing, usable bar length, bike-to-bike contact, and the bar system’s rules for the number of bikes. A carrier’s maximum spread range does not mean the vehicle’s approved mounting points can be placed anywhere within that range.
Treat carbon and securement instructions carefully
Some carriers require a specific frame protector or direct owners of carbon frames or forks to consult the bicycle maker or dealer. For example, the Thule TopRide 568 instructions include a carbon-use check even though the product page lists carbon-related compatibility. Follow that exact model’s manual and the bicycle maker’s direction; do not generalize one carrier’s material guidance to another bike.

Use the loading sequence and securement hardware supplied or specified for the exact carrier. Some manuals prohibit elastic bungees and define when straps, clamps, or locks must engage. A Thule TopRide 568 manual calls for an initial check after a short drive of 50 km and further checks at regular intervals; that schedule is specific to the named manual, not a universal interval for every carrier.
The 1UP USA Roof Rack instructions INS04.R08 give another version-specific securement check: on the optional one-handed ratchet, press the outer Domino back into place until its button snaps back before travel. The manual also says the tire spool must touch the tire within its marked range; its text does not give a numeric measurement for that range. Follow the current instructions for the exact rack and ratchet version.
Requirements also vary by market. For passenger cars in the UK, Driver and Vehicle Standards Agency guidance says to secure roof-rack loads with cargo ratchet straps or effective clamping; it says rope, bungee cords, and other cords or cables do not secure them effectively. This is general roof-load guidance, not a bicycle-carrier fitting procedure. Follow the instructions for the exact vehicle, base rack, and carrier, along with the rules that apply where you drive.
For an e-bike, the drive system and battery add checks that ordinary bike measurements do not cover. The e-bike roof-rack guide covers model-specific battery instructions, heavier-bike ratings, and overhead loading.
Use a final fit checklist
- Measure and weigh the complete bike in its intended transport configuration.
- Match wheel, tire, wheelbase, axle, fork, frame, and required adapters to the current carrier manual.
- Confirm the exact vehicle-to-base-rack fit and actual bar dimensions and spacing.
- Calculate the complete load against vehicle, base-rack, and carrier limits.
- Check roof height, hatch or door clearance, bike-to-bike spacing, and lock access.
- Install, load, and recheck the setup exactly as each manufacturer directs.
If any required dimension, limit, or fit status is unknown, keep the answer conditional and verify it with the vehicle, rack, bike, and carrier makers. See the two-stage fitment guide for the order of checks.
Sources and product references
Use these references to check the current instructions and fit information for your market and exact setup.