Check vehicle-to-base-rack fit first, then match the bike carrier to the bars, bicycle, load limits, and clearances.
On this page
How to Fit a Roof Bike Rack to Your Vehicle and Base Bars
Roof bike fit is a two-stage check: the vehicle must support the base rack, and the installed bars must accept the exact bike carrier. Then the carrier must fit the bicycle. A product’s bar-interface statement alone does not confirm the complete setup.
1. Identify the exact vehicle and market
Record the country or market, model year, make, model, body or generation, trim, and roof equipment. Note factory crossbars, raised or flush rails, fixed points, roof tracks, sunroof or glass roof, and any spoiler or hatch restriction. If two versions of the same vehicle have different roofs, do not treat their fit results as interchangeable.
Some configurations rule out roof loading before you choose a carrier. Tesla’s Model Y manual requires a Tesla mounting accessory and a Tesla-approved roof-rack system. The Tesla Model Y rack listing describes T-slots for compatible bike-rack attachments, but it excludes Model Y L and does not identify a specific bicycle-carrier fit. Ford’s 2025 US Escape/Kuga manual says not to install crossbars or carry a roof load on the glass-roof configuration (0 kg). Its separate 45 kg figure applies to the non-glass-roof configuration, evenly distributed on crossbars, with the roof-rack-system mass subtracted. These limits belong to the named vehicles, years, markets, and roof configurations; check the exact current manual and fit path.
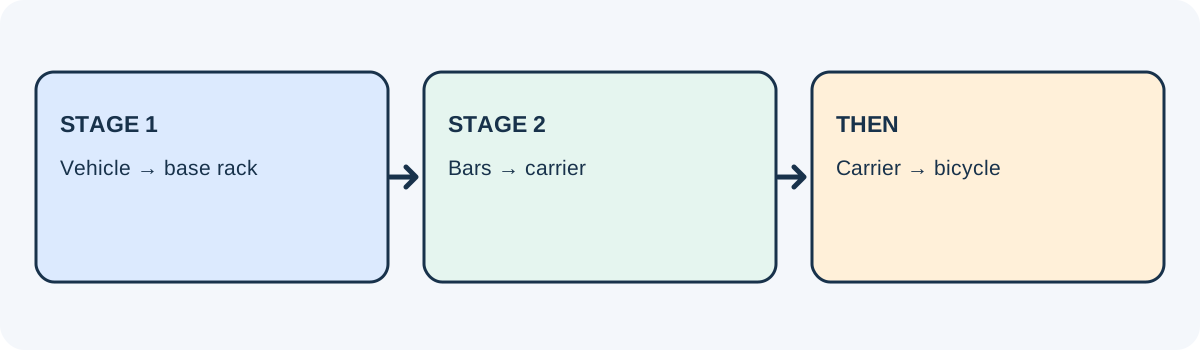
Use the vehicle maker’s manual and the selected-market fit lookup to establish the base-rack system and its required components. Thule’s US fit guide asks the reader to select a product category and enter vehicle details or existing roof-rack details. Yakima’s lookup separates year, make, model, and fit, and shows base-rack, accessory, measurement, note, and load-rating information. These tools provide a route to a result; a landing page or an unselected vehicle does not establish a fit.
2. Confirm the base rack before choosing a carrier
Check the vehicle-specific crossbars, feet, fit kit, mounting locations, and load limits. Keep the exact bar model and installation manual. After installation, measure the actual bar width, thickness, shape or channel, front-to-back spread, and usable length. A “factory bar” or “aero bar” label may not describe its dimensions or channel closely enough for a clamp or T-track attachment.
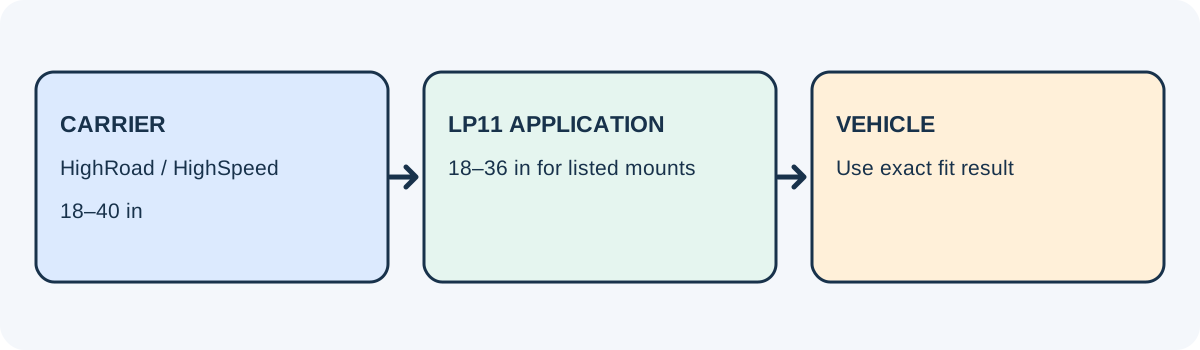
For example, Yakima lists HighRoad and HighSpeed with an 18–40 inch crossbar-spread range. Its Landing Pad 11 instructions give an 18–36 inch range for those mounts in that base-system chart. That narrower value belongs to the Landing Pad 11 application; it does not rewrite the carrier’s product range or establish that either product fits a specific vehicle. Use the current vehicle entry and the instructions for both components. The same chart says that carrying more than two bicycles can require longer spacing because of leverage; the exact carrier and vehicle still determine whether that arrangement is allowed.
Other product dimensions are equally specific. Küat’s Piston SR listing, for example, gives a 25–51 inch crossbar distance, maximum crossbar width, and thickness ranges that depend on supplied or optional hardware. Those measurements describe that carrier. They are not permission to reposition the vehicle’s bars or proof that the installed system is compatible.
3. Match the carrier and the bicycle
With the vehicle and base bars settled, check the carrier’s exact model number, mounting method, included hardware, adapters, and crossbar dimensions. Then compare the bicycle’s wheel and tire size, wheelbase, axle or fork, frame shape, and complete weight with the carrier manual. An adapter may solve one interface mismatch but does not increase the carrier, base-rack, or vehicle load limit.
If you plan to carry more than one bike, verify the number allowed by each carrier, bar spacing, usable bar length, the direction each bike faces, clearance between bars and wheels, and whether another roof accessory competes for the same space. A model’s minimum and maximum spread range is only one input to the installation.
4. Calculate load and check clearances
Add the base rack, carriers, bicycles, and any equipment that travels on the roof. Compare that total with the vehicle’s roof limit and the base rack and carrier limits, following each maker’s definition. The lowest applicable limit governs. Do not count a carrier’s bike rating as the vehicle’s roof allowance.
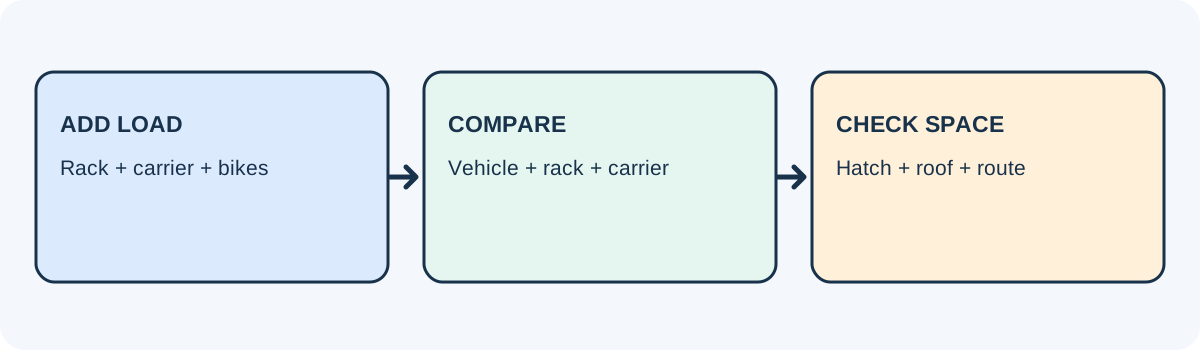
Check the opened hatch or tailgate, doors, sunroof operation where applicable, roof height, garage or car-park clearance, and access to locks and straps. A vehicle-specific manual can impose additional restrictions. The cited English Renault Austral manual, for example, gives a 75 kg maximum roof weight including carrying equipment and prohibits equipment from resting against the spoiler or tailgate. That value and restriction belong to the Austral manual; they do not approve any bike rack or transfer to another vehicle.
5. Read fit statuses literally
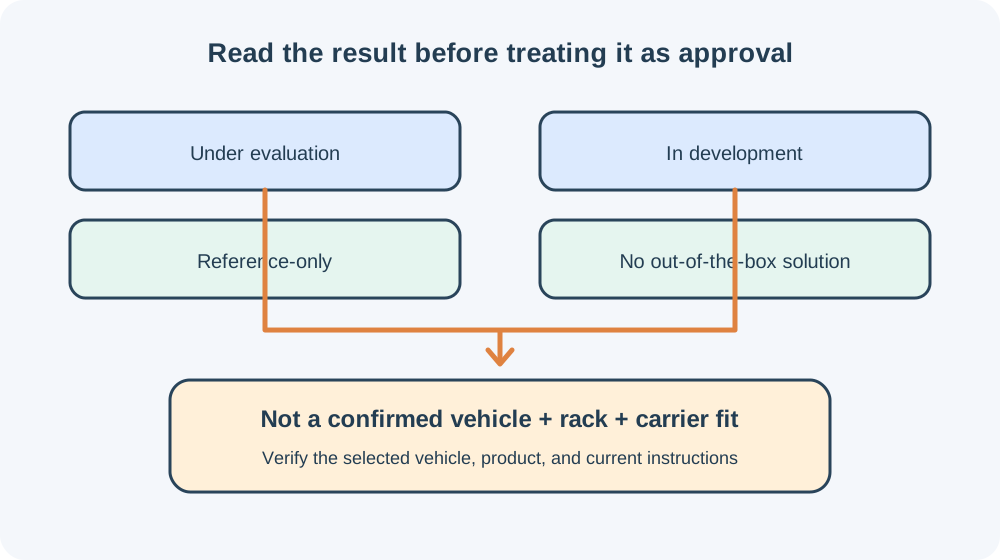
Fit tools do not all use the same labels. Yakima describes states such as under evaluation, in development, in production but not yet available, and reference-only, as well as cases with no out-of-the-box solution. Those states are not a confirmed fit. Its custom-install guidance is not a vehicle-specific approval by itself.
Thule explains that an unconfirmed result may mean a combination is unsupported or simply not measured. Treat that as a request to check exact measurements and current requirements, not as a yes or a definitive no. Do not translate one manufacturer’s label into another manufacturer’s status.
Before you buy or drive
- Confirm the base rack against the exact vehicle, roof, year, trim, and market.
- Confirm actual bar dimensions, channel, spacing, carrier hardware, and adapter.
- Match the carrier to the measured bike and intended bike count.
- Compare the full installed load with every applicable rating.
- Check hatch, spoiler, door, overhead, and accessory clearances.
- Follow current vehicle, base-rack, carrier, and bicycle instructions.
If one link in that chain is missing, keep the fit unconfirmed and ask the relevant manufacturer or a qualified fitter for the exact combination. For bike-side measurements, see the constraint checklist. For e-bike-specific checks, use the e-bike guide.
Sources and product references
Use these references to check the current instructions and fit information for your market and exact setup.
- Find the right gear for your vehicleprimary
- Yakima Infolookupprimary
- Landing Pad 11 Instructionsprimary
- Piston SRprimary
- Carrying equipment — Renault Australprimary
- Model Y Owner's Manual — Vehicle Loadingprimary
- Model Y Roof Rackprimary
- 2025 Escape/Kuga Owner's Manual — Roof Rack Load Capacitiesprimary