Follow the vehicle and carrier instructions for loading, strap routing, bow and stern tie-downs, clearance, and rechecks.
On this page
How to Load and Tie Down a Kayak or Other Watercraft on a Roof Rack
There is no single strap route that applies to every roof carrier. Before lifting a kayak, canoe, SUP, or board, identify the exact vehicle, base rack, carrier model, and current instructions. Use the carrier’s method for the craft it is designed to carry. If an anchor point, support position, or loading step is unclear, stop and ask the vehicle or carrier maker rather than improvising.
Prepare the vehicle and equipment
Confirm that the vehicle has the approved crossbars or rack system required by its manual; roof rails alone may not be a cargo support. Check that the carrier is attached to those bars through the specified interface, adapters, and spacing. Inspect the mounting hardware, carrier pads, straps, buckles, and bow/stern lines for damage or missing parts. Read the limit labels and use the exact vehicle and product manuals to check the loaded system.
Measure or identify the craft’s weight and shape so it can be placed on the supports without an unsupported section resting on a narrow edge. Plan the lift with a second person or a documented loading aid if the craft is too heavy, long, or awkward to control. A loading aid changes the lifting path; it does not raise the carrier or vehicle load limit.
Load the craft using its carrier’s method
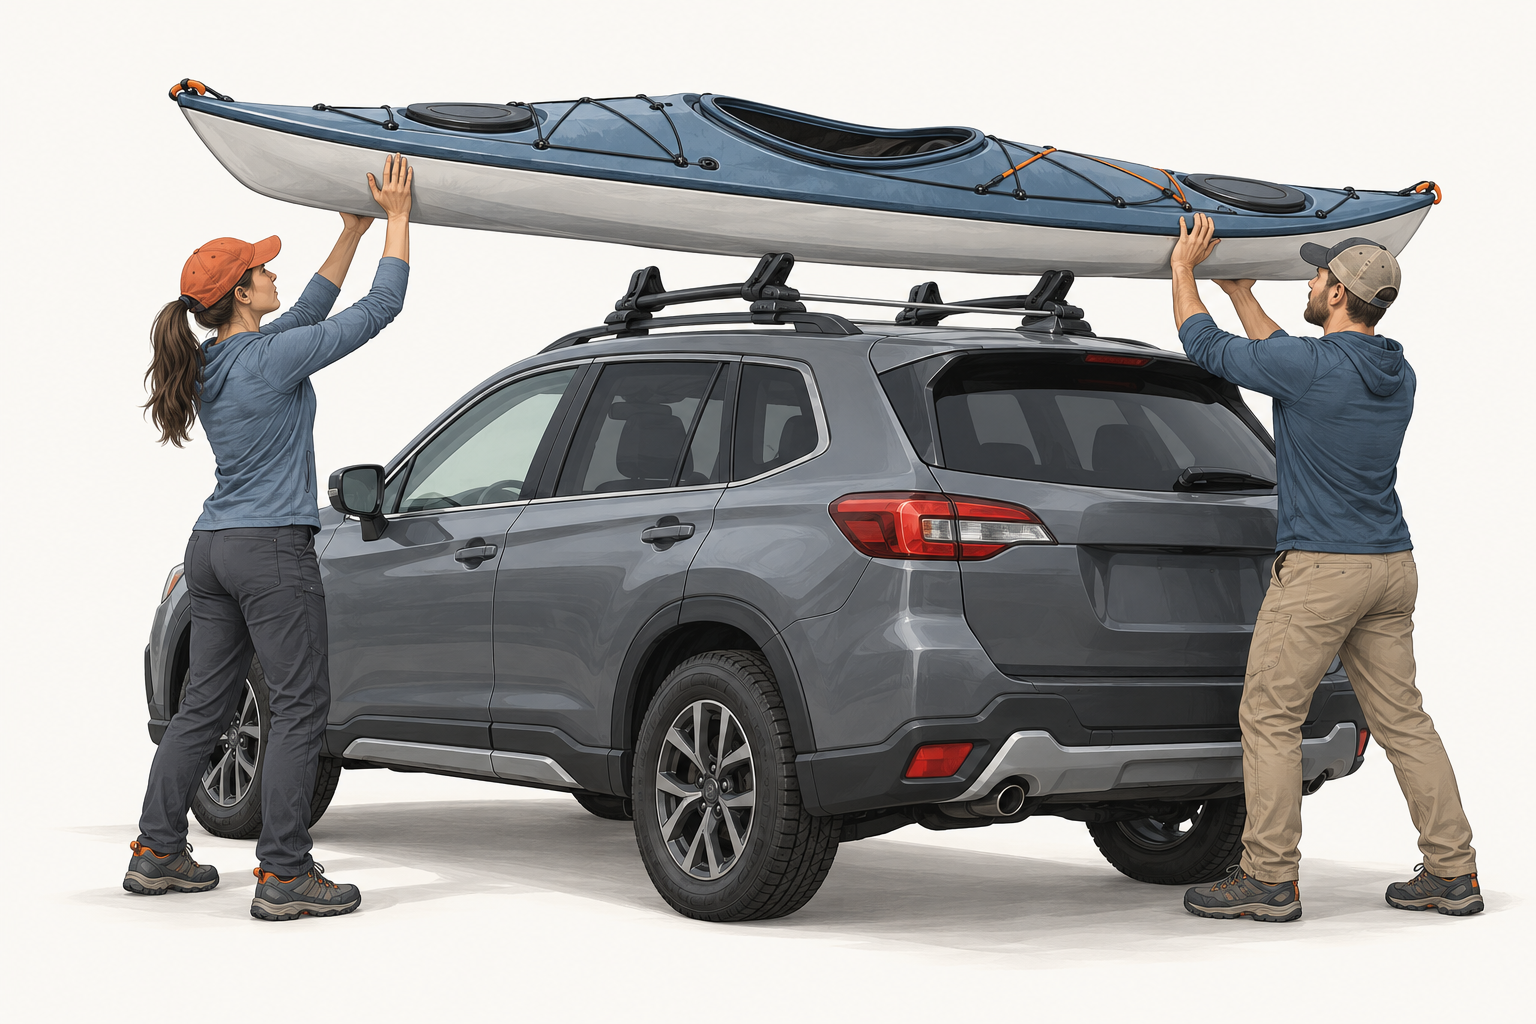
Follow the position and loading sequence shown in the carrier instructions. Keep the craft centered and supported at the points specified for that model. Use any pad or protective surface only as directed, and do not add a makeshift mount or alter the carrier’s attachment hardware. For a rear-loading or roller model, use its illustrated loading direction and control the craft as it moves onto the roof; for a tilt or lift-assist model, use the locking and return steps in that product’s manual.
Examples from separate North American product instructions show why the exact model matters:
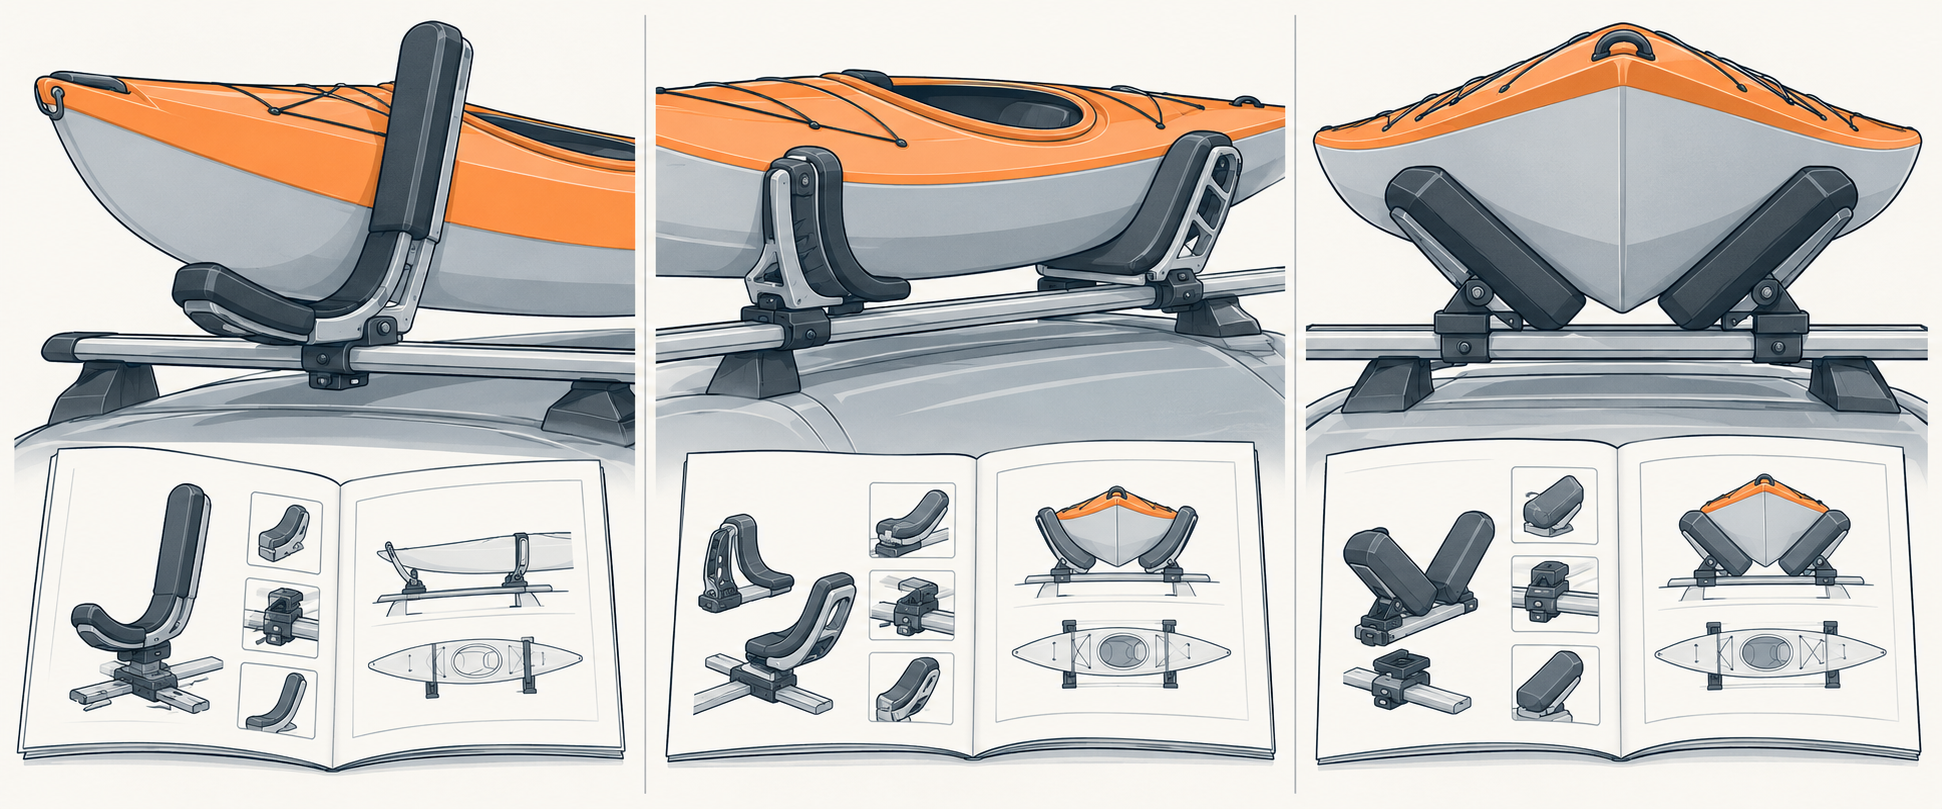
- Thule’s Hull-A-Port 834 document specifies at least 24 inches (610 mm) between bars. It routes the main straps around the boat and to the load bar inside the bar feet, and calls for bow and stern lines to vehicle bumpers or tow hooks. Those are instructions for that carrier document, not a universal route or approved anchor for every vehicle.
- Yakima’s JayLow instructions require bow and stern tie-downs. They call for a Hood Anchor when the vehicle has no tie-off point or the line could damage the vehicle; if that option is unsuitable, the instructions direct the user to contact Yakima.
- Rhino-Rack’s Nautic 570/580 instructions show straps passing under the crossbar and require bow and stern lines. Malone’s SeaWing instructions show straps routed through that carrier’s slots and specify its own loading sequence and safety-line kit.
Do not copy one example’s bar spacing, anchor, strap path, knot, or hardware to a different product. Apply the diagram and warnings supplied with the exact model and vehicle.
Secure the craft and vehicle attachment
Use every strap and end tie-down required by the selected carrier. Route and tighten the main straps over the load-bearing parts of the craft as illustrated; keep buckles and hardware in the positions the manufacturer shows. Attach bow and stern lines only to vehicle points approved by the relevant instructions. Do not use a decorative trim piece or a point whose strength or clearance is unknown. If the vehicle has no suitable approved point, use only the alternative specified by the carrier maker or pause for guidance.
Check the rack’s fasteners as well as the craft’s straps. A kayak that feels secure against its saddles does not prove the carrier is firmly attached to the crossbars. Recheck every attachment after loading and again after a short distance, then at the intervals specified in the instructions and after a stop or rough-road section.
Check clearance and driving conditions
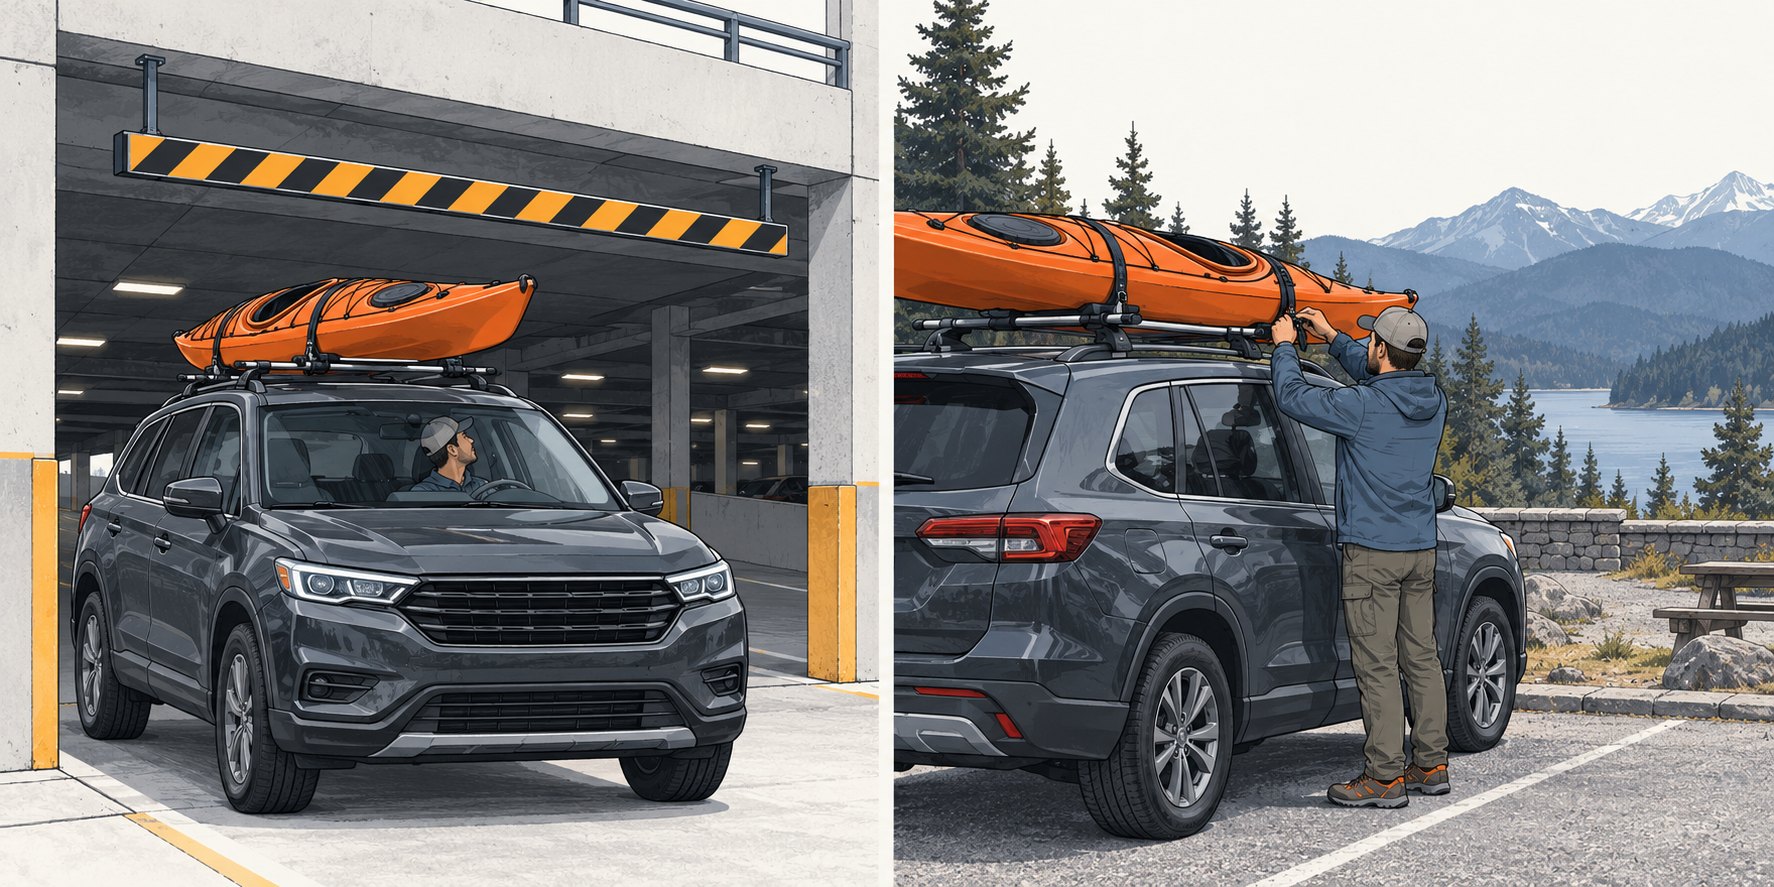
Before departure, check clearance at the roof, hatch, spoiler, doors, glass, antenna, and any other nearby equipment. Confirm the total height if a garage, car park, or low structure is on the route. Make sure straps and loose ends cannot enter a door, rub a sharp edge, or obscure vehicle lights or the driver’s view.
Roof cargo changes how a vehicle handles, particularly in wind and during braking or cornering. Drive according to the vehicle and carrier instructions, road conditions, and applicable speed limits. NHTSA’s US load-securement guidance recommends restraining cargo so it cannot drop, shift, or escape and double-checking the load; local laws and product instructions still govern the trip.
Use the pre-trip checklist to review the whole setup. For more on choosing a design before installation, see carrier types and loading aids.
Sources and product references
Use these references to check the current instructions and fit information for your market and exact setup.
- JayLow Rooftop J-Cradle Kayak Mount Instructionsprimary
- HULL-A-PORT 834 Installation Instructionsprimary
- Nautic 570/580 Side Loading Kayak Carrier Fitting Instructionsprimary
- 571/581 Nautic Rear Kayak Loader Fitting Instructionsprimary
- MPG107 Instructions — SeaWing V-Style Kayak Carrierprimary
- How to Secure Your Loadprimary