Plan lights, recovery gear, tool holders, and camp accessories around the rack or platform interface, hardware, load, and clearance.
On this page
Overland Add-Ons for Roof Platforms and Racks: Fit and Mounting Guide
Lights, recovery boards, jacks, shovels, and camp equipment can compete for the same platform edge, channel, and load allowance. Plan the whole arrangement before buying brackets. An accessory page may confirm that a bracket fits a named platform family; it does not confirm that the vehicle, platform generation, carried item, and neighboring accessories form an approved setup.
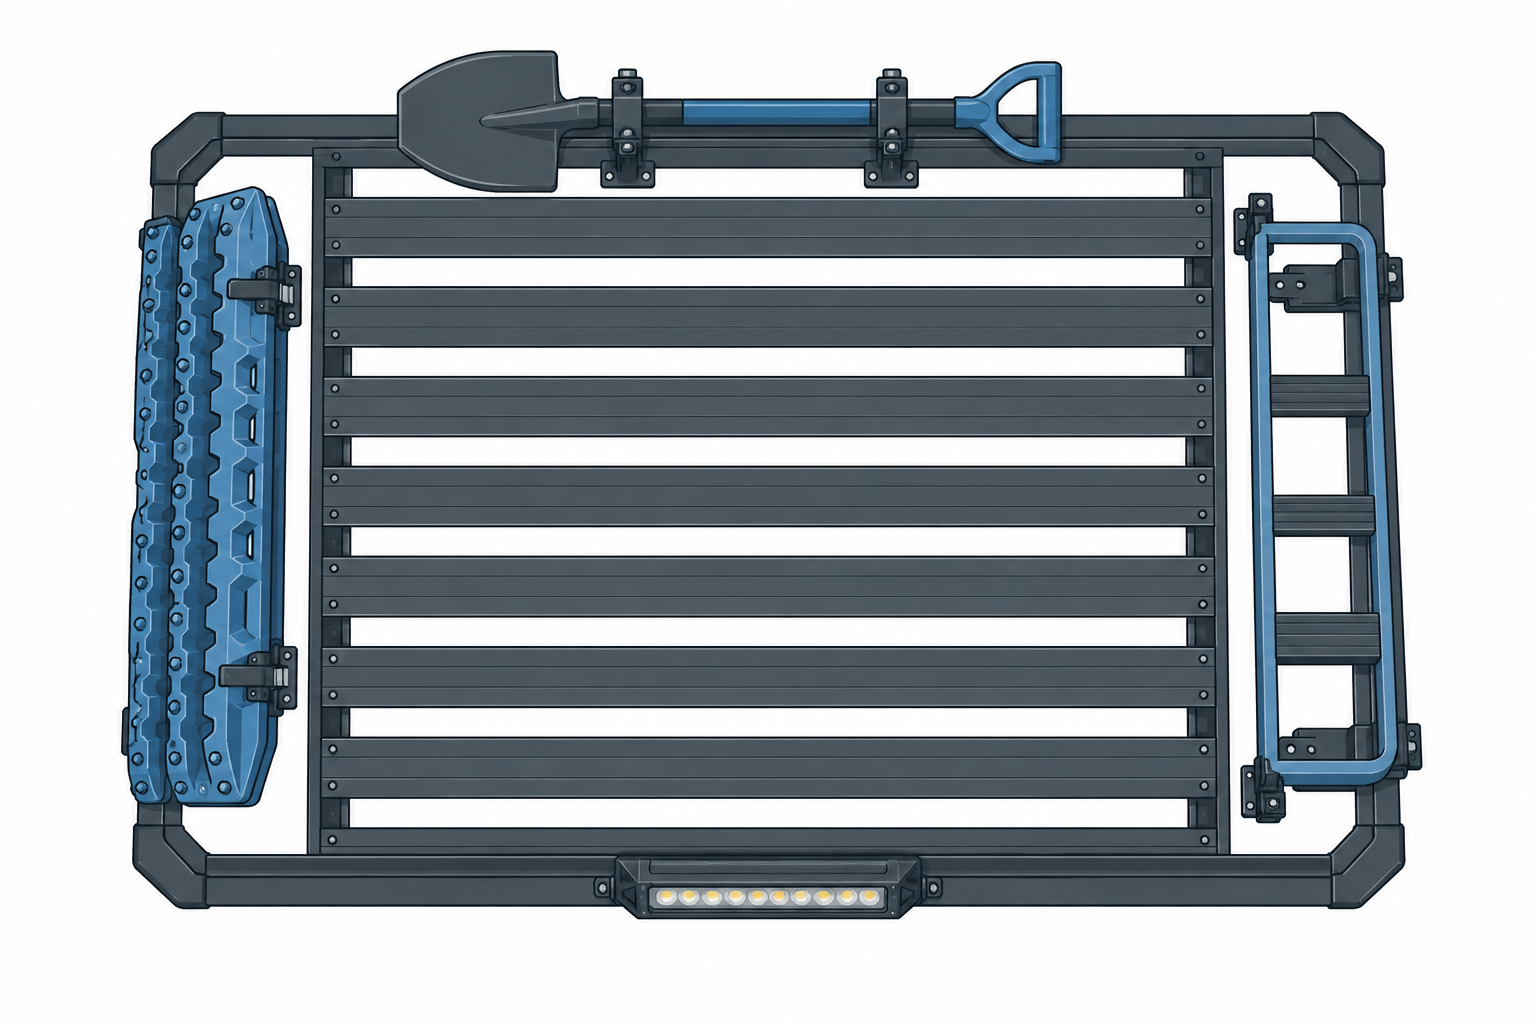
Inventory the base and each accessory
Write down the vehicle and market, the exact rack or platform model, each add-on part number, and every adapter or holder needed between them. Separate these questions: where the bracket attaches, which accessory it holds, what additional hardware is required, and what the vehicle and rack permit. A platform channel is an interface, not a promise that every channel-mounted product fits.
Product-specific examples
| Add-on path | Documented relationship | Important boundary |
|---|---|---|
| LED light bracket 43173 | Rhino-Rack says the pair gives 80 mm clearance from the edge of a Pioneer Platform or Tradie. Its page distinguishes Platform/Tradie positions from the rear and side positions on a Pioneer Tray. | The 80 mm is bracket-to-platform-edge clearance, not vehicle, hatch, roof, wiring, or adjacent-accessory clearance. Product details |
| Recovery-track side bracket 43159 | The bracket mounts recovery tracks at 75 degrees. The listed arrangement accommodates up to two tracks, or up to four with the separate Pioneer Maxtrax Support Bracket 43197. | Confirm the track model, support bracket, exact platform, and total load. This is not approval for off-road use or a vehicle load. Product details |
| Shovel and conduit holder 53100 | The pair fits named Pioneer Platform, Tradie, and Tray systems; the manufacturer says BC2 conduit clamps can attach to the system. | The bracket page does not set the carried tool or conduit load. Its off-road recommendation for using more than one holder is not a capacity figure. Product details |
| High-lift jack holder 43101 | Two brackets secure one jack to listed Pioneer Tray, Tradie, or Platform systems; the bracket pair itself weighs 4.4 lb. | That weight is not the jack weight or an approved load. Confirm the jack model and all rack and vehicle limits. Product details |
| Combination bracket 43104 | The pair connects a separate Rhino-Rack shovel holder and high-lift jack holder to the same side of a Pioneer system. The holders are not included; a 10 mm spanner is needed. | The connecting bracket does not establish carried-tool loads, neighboring clearance, or combined accessory approval. Product details |
| Pioneer Ladder Mount 43217 | Rhino-Rack identifies it as a side-channel anchor for its RAFL Aluminium Folding Ladder and lists Pioneer Tradie (6-series), Reconn Platform, Pioneer Tray, Pioneer Platform, and Pioneer Elevation. | The 1.1 lb figure is the mount weight only. The listing does not establish vehicle fit, a carried-ladder limit, or safe access on a particular setup. Confirm the exact current rack and ladder instructions. Product details |
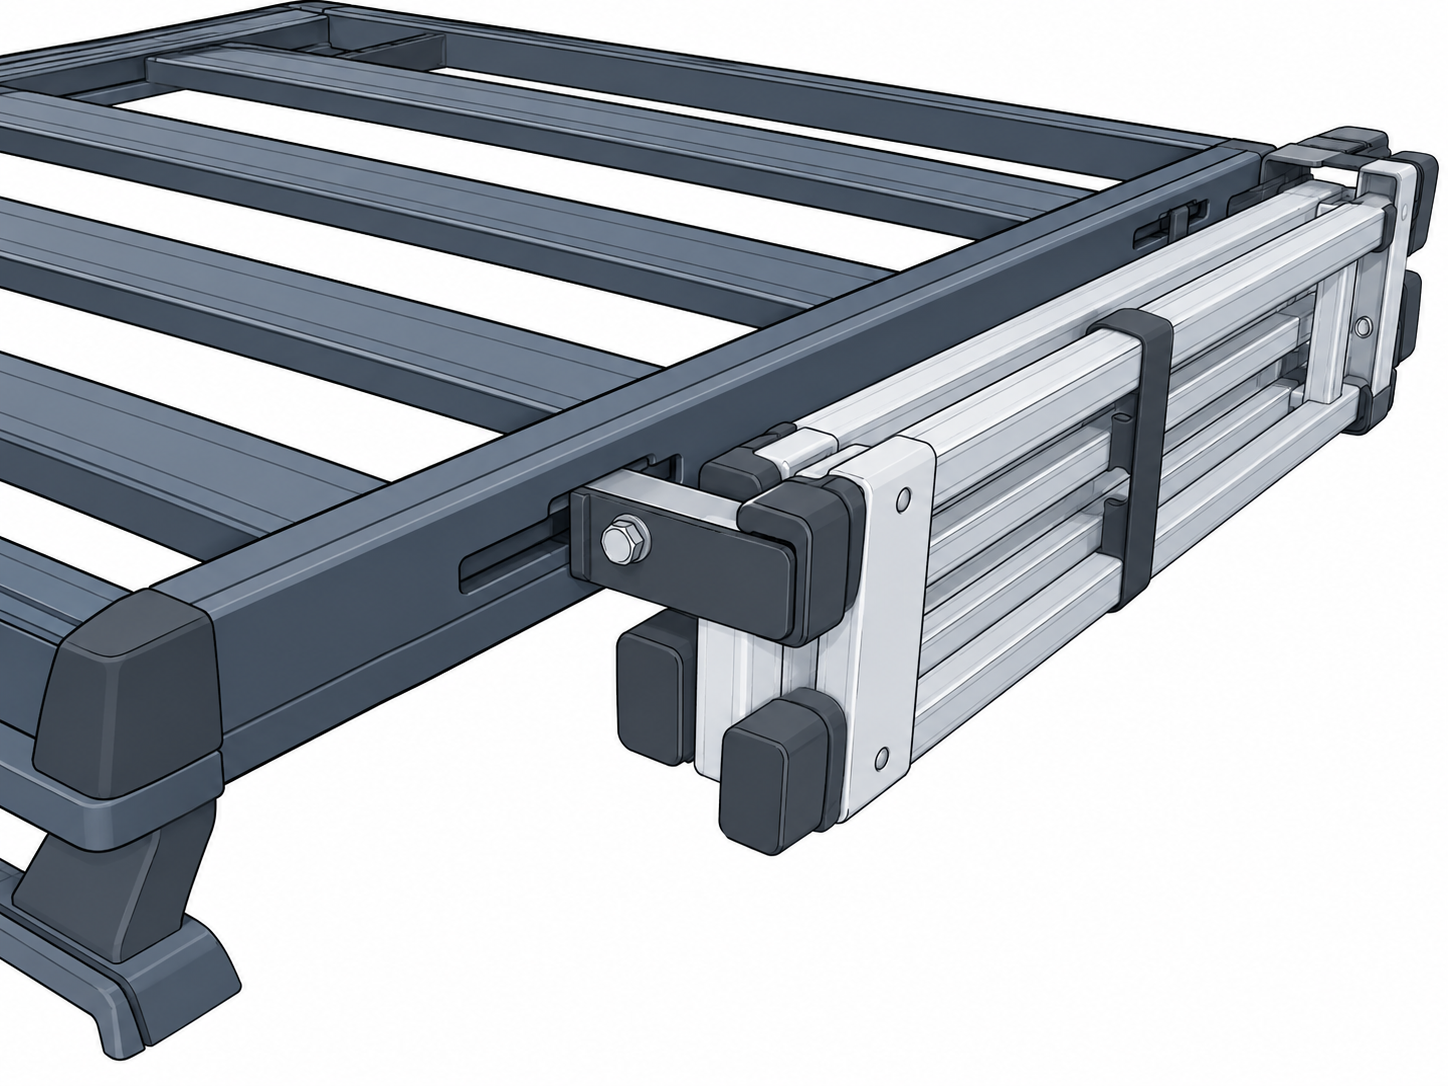
The 43217 listing addresses carrying the named RAFL ladder on listed Pioneer families. It does not describe ladder deployment or approve using the ladder to access a particular vehicle; check the current rack and ladder directions for those steps.
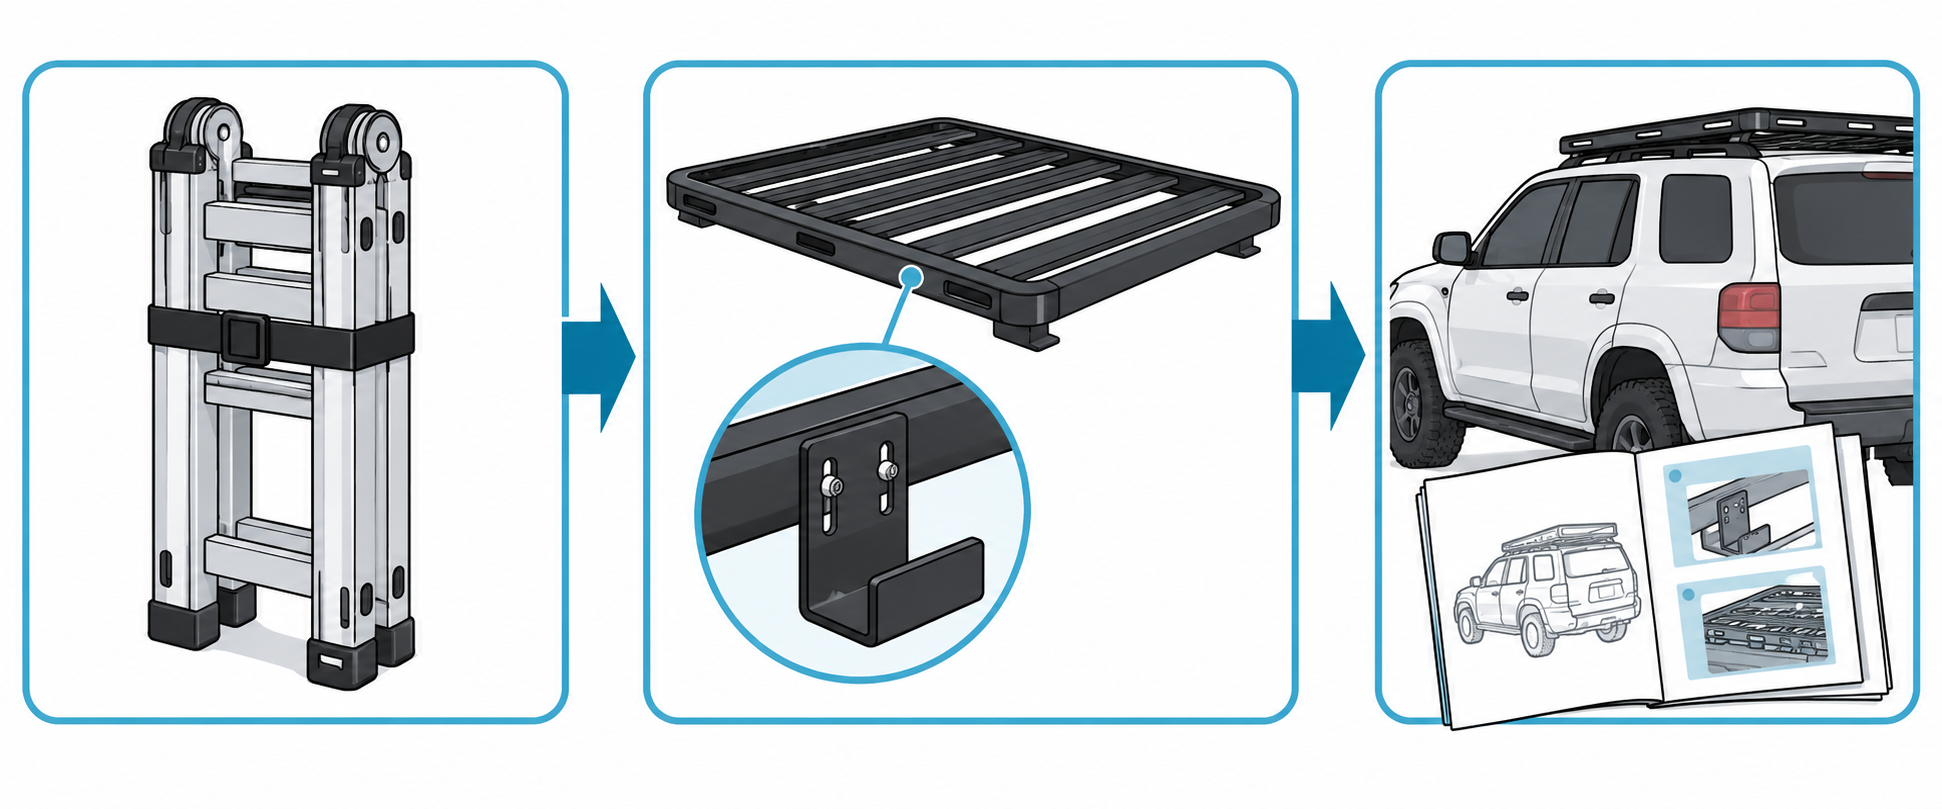
These examples support a useful build plan, not a universal parts list. A shower or changing tent has a different reader task from mounting several tools; see the Rhino-Rack 32149 shower tent guide for that product’s rack families and mounting checks.
Plan positions, load, and access
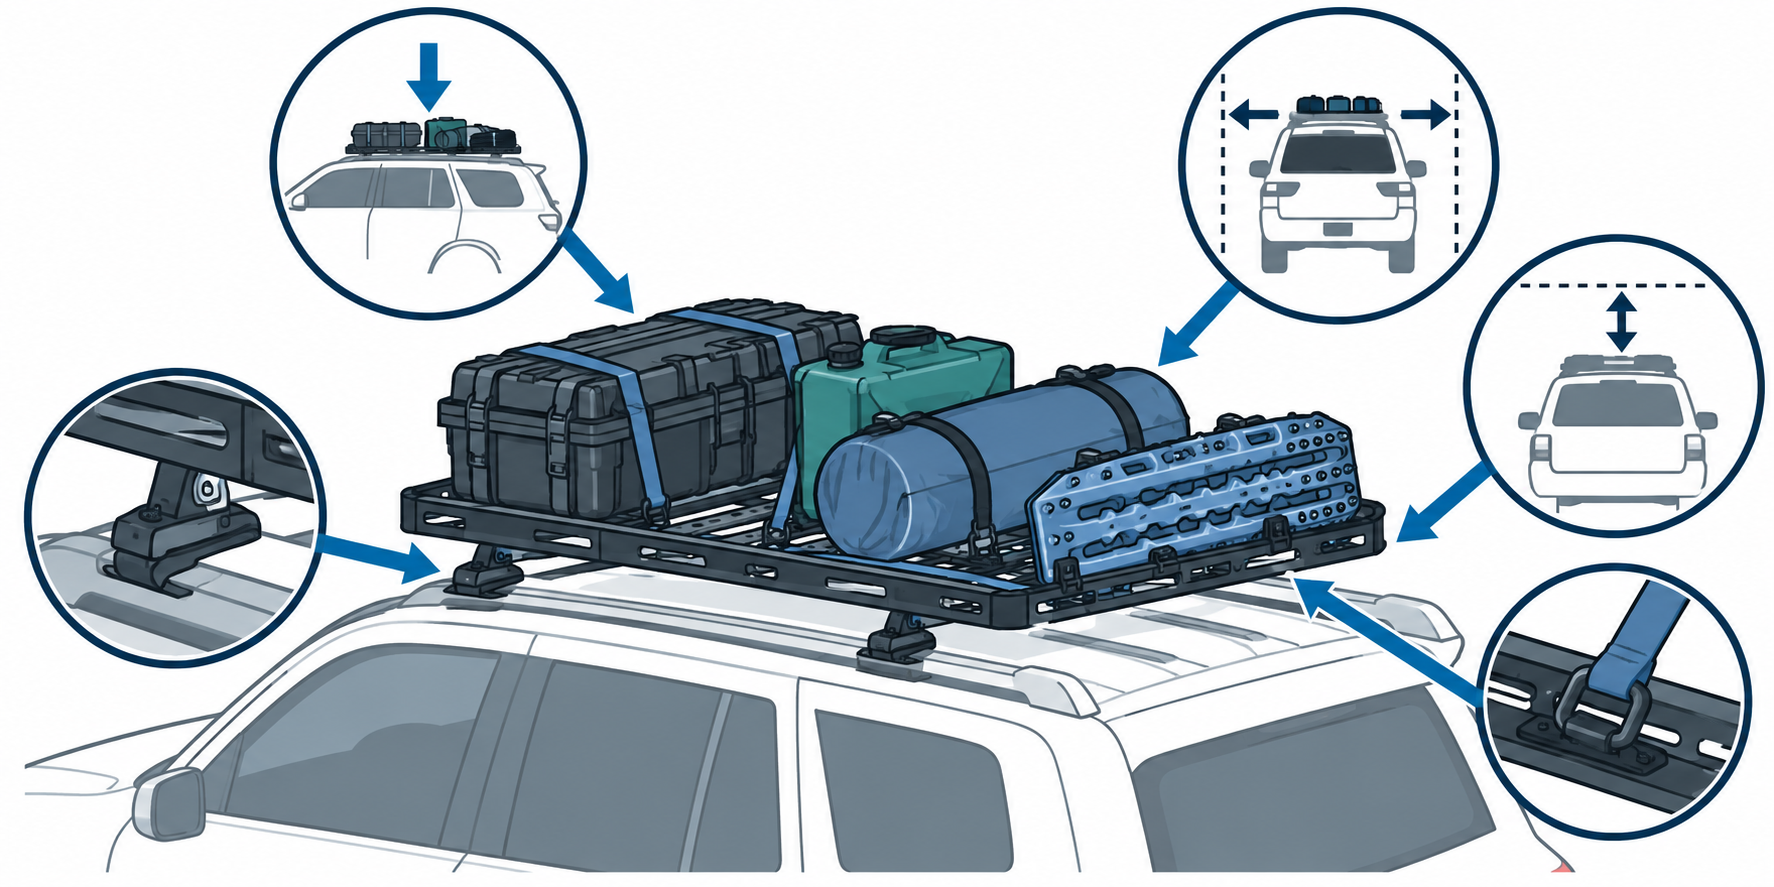
Sketch where each bracket sits and how its item projects above, beside, or behind the vehicle. Check that the proposed positions leave room for channels, fasteners, roof access, doors, tailgates, lights, and any accessory that opens or deploys. Product dimensions and bracket clearance statements describe only the product feature named by the manufacturer; measure the actual installed arrangement against the vehicle.
Then total the mass of the platform or bars, mounting hardware, brackets, accessories, and carried gear. Compare that complete load with the vehicle’s roof allowance and every relevant rack, platform, and accessory limit. A bracket weight listed in a product table is part of the load; an accessory compatibility label does not raise any limit. If the instructions do not document the tool’s support points, carried mass, or the combination of mounts you want, do not infer approval from the fact that the hardware can be bolted together.
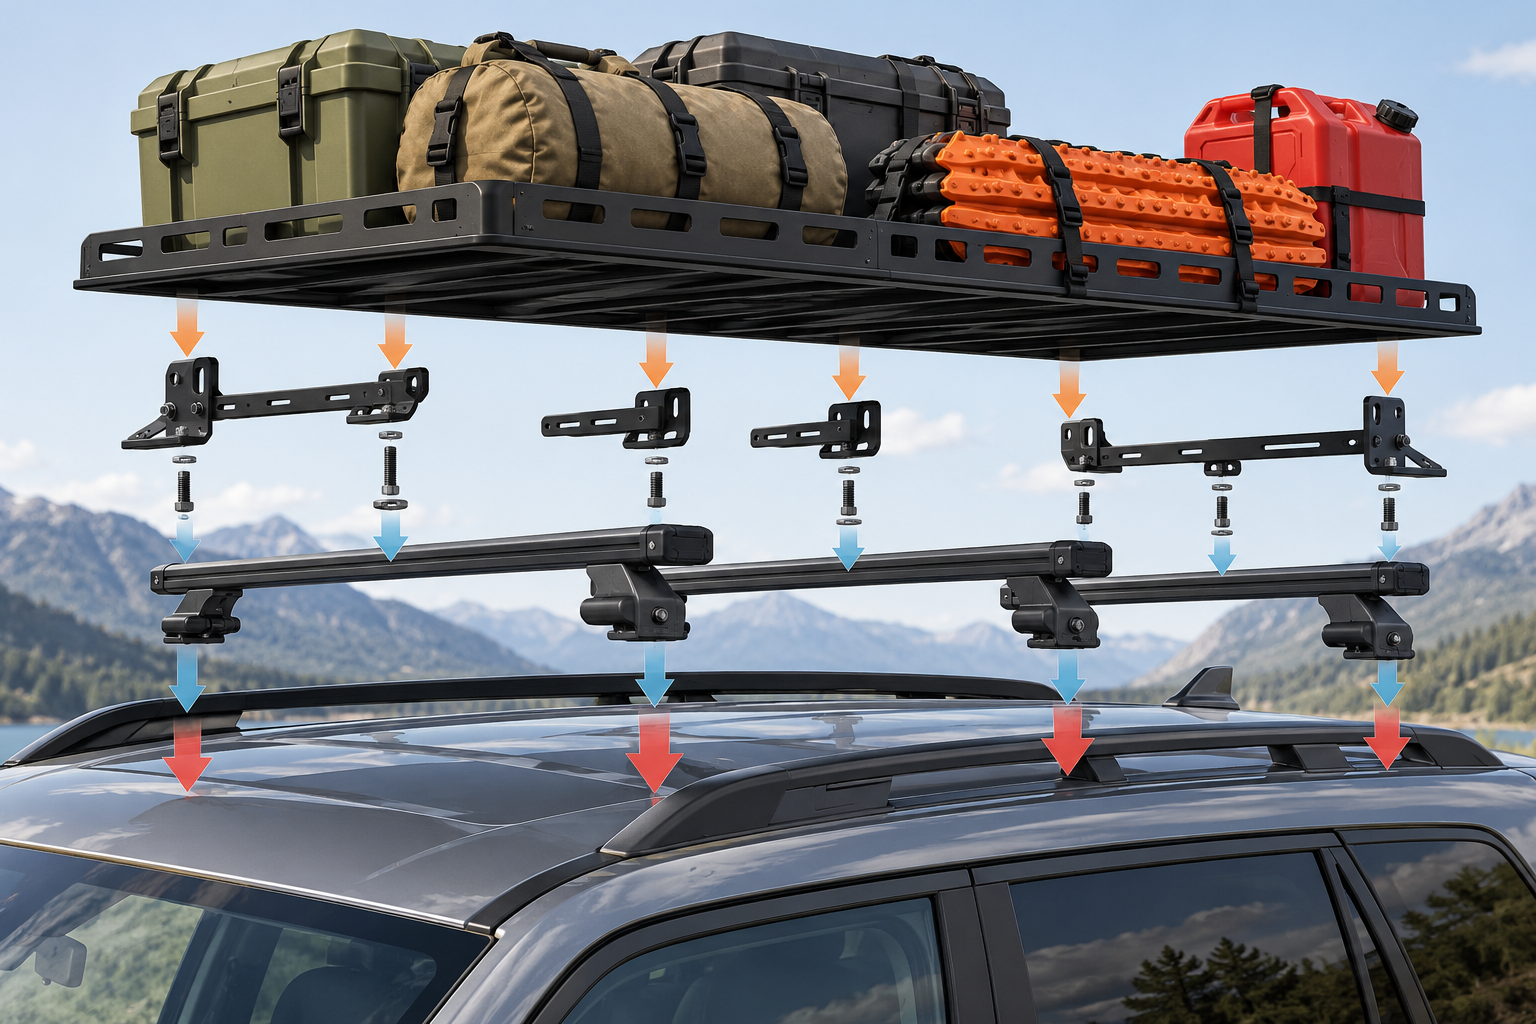
Install and secure the whole system
Use the current fitting instructions for the exact rack generation and accessory. Keep wiring, straps, and fasteners away from moving parts and avoid improvised drilling or hardware. After installation, check the fasteners, clearance, access, and securement again. Recheck after changing the accessory positions or removing and refitting the equipment.
For US drivers, NHTSA’s load guidance advises tying cargo down with rope, netting, or straps, keeping the load within limits, and double-checking that it is secure. That is general cargo guidance, not a rack installation manual; follow the vehicle and accessory instructions as well. Drivers in Canada and the UK should also check the rules that apply where they travel.
When a vehicle application, bracket path, or carried-load approval is not documented, treat the result as unverified and ask the vehicle or rack manufacturer or a qualified fitter before use. Continue with the work-accessory guide for ladder rollers and load stops, or the load, wind, and clearance checks for the complete operating setup.
Sources and product references
Use these references to check the current instructions and fit information for your market and exact setup.
- Rhino-Rack Pioneer LED Light Bracket 43173primary
- Rhino-Rack Pioneer Recovery Track Side Bracket 43159primary
- Rhino-Rack shovel and conduit holder bracket 53100primary
- Rhino-Rack Pioneer High Lifting Jack Holder Bracket 43101primary
- Rhino-Rack Pioneer Combination Bracket 43104primary
- Rhino-Rack Pioneer Ladder Mount 43217primary
- NHTSA: Drive Safe, Secure Your Loadprimary