Check the vehicle, rack, platform, and accessory instructions together before carrying cargo or fitting a tent, awning, recovery gear, or work equipment.
On this page
How to Load a Roof Platform With Cargo, Tents, or Work Gear
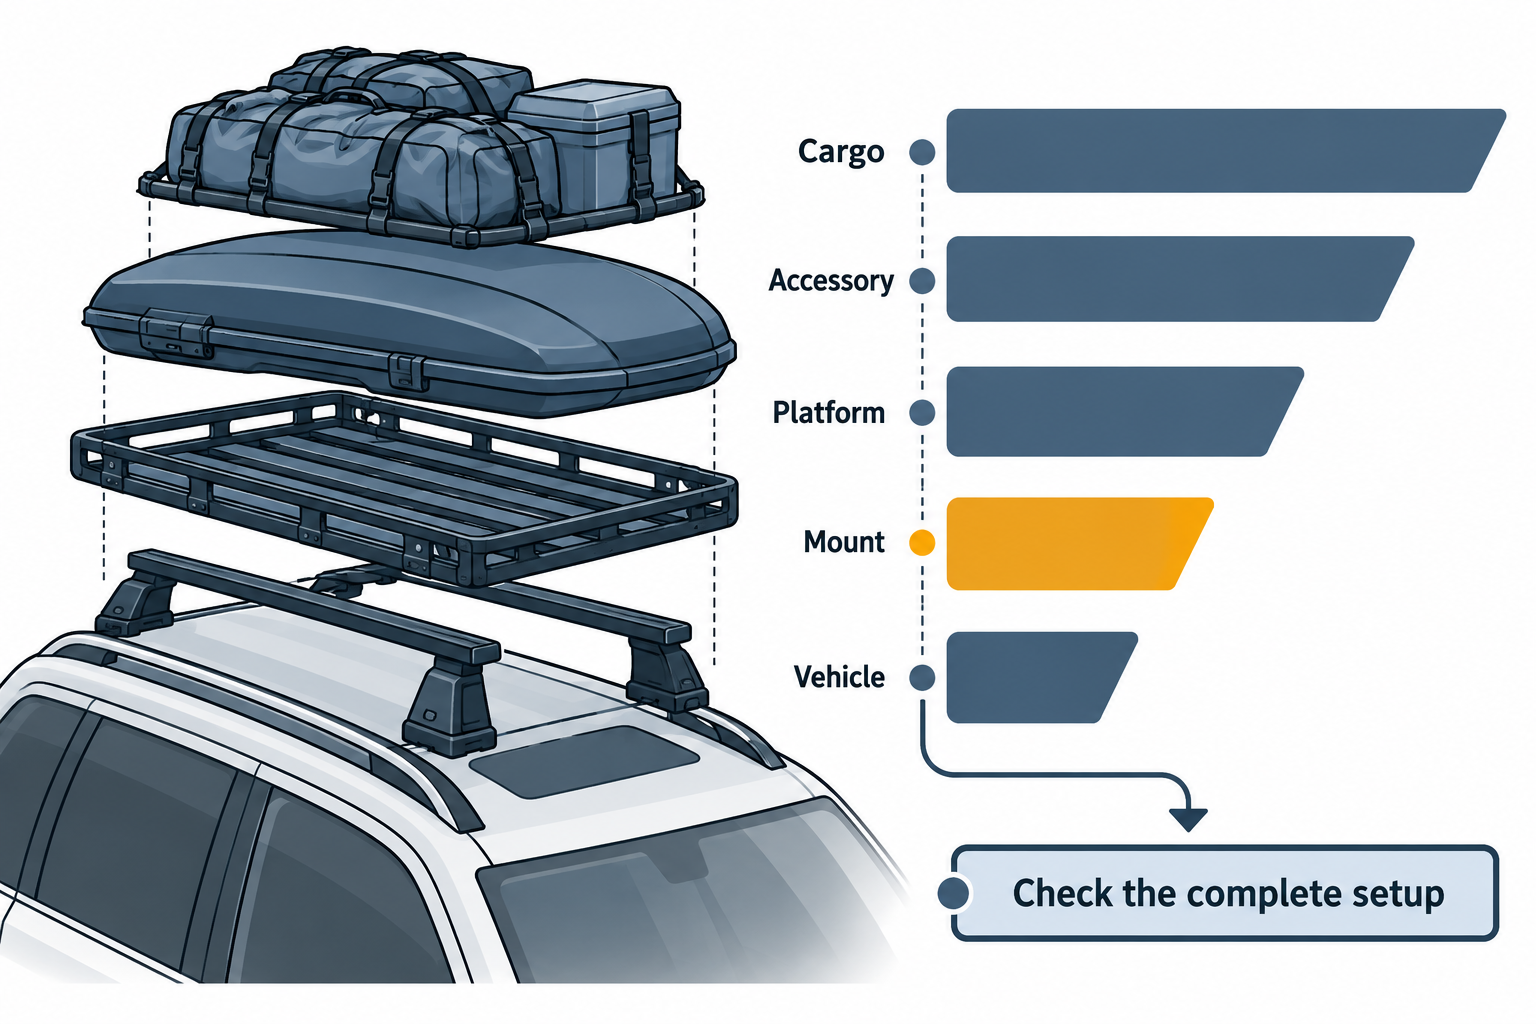
A platform’s published rating is only one input to a loaded roof system. The vehicle, roof attachment, legs or crossbars, platform, accessory, and installation can each impose requirements. Check the current documents for the exact combination and how each limit is defined before mounting equipment or driving.
Build an equipment and limit list
Write down the vehicle and market, the platform and mount part numbers, every accessory, and the cargo that will be added. Record the mass of installed parts and loaded equipment where the applicable instructions require it. Then locate the vehicle’s roof-load definition and the rack, platform, and accessory limits. Use the lowest applicable limit only after confirming that the figures cover comparable configurations and load conditions.
Do not read a platform’s product rating as the amount of cargo the vehicle may carry. For example, Thule’s Caprock attachment guide lists route maxima of up to 100 kg for load-carrier-foot or existing-crossbar routes and up to 150 kg for the named XScape or rail-mount routes. The guide also says vehicle and rack limits apply. Those figures do not establish the limit for an unlisted vehicle, mount, or complete setup. Use the matching current instructions rather than transferring a number between routes.
Some guides define vehicle load as including the rack system, while product pages may describe a product-level capacity. Rhino-Rack’s Pioneer 6 Flat Pack instructions separate cargo load, rack-system mass, and vehicle load limit. Follow the definitions in the documents for the selected parts; do not combine ratings that count different things.
Treat driving and parked use separately
Loads while driving are dynamic. A parked rooftop tent introduces a different static use case, and a vehicle or rack maker must support that use for the specific roof and installation. Do not infer a safe occupied tent load from a platform’s cargo rating, appearance, or a generic multiplier. Check tent mounting positions, bar spread or platform interface, vehicle roof approval, and any glass-roof restrictions. Thule’s rooftop tent guidelines explain the distinction within their rack guidance.
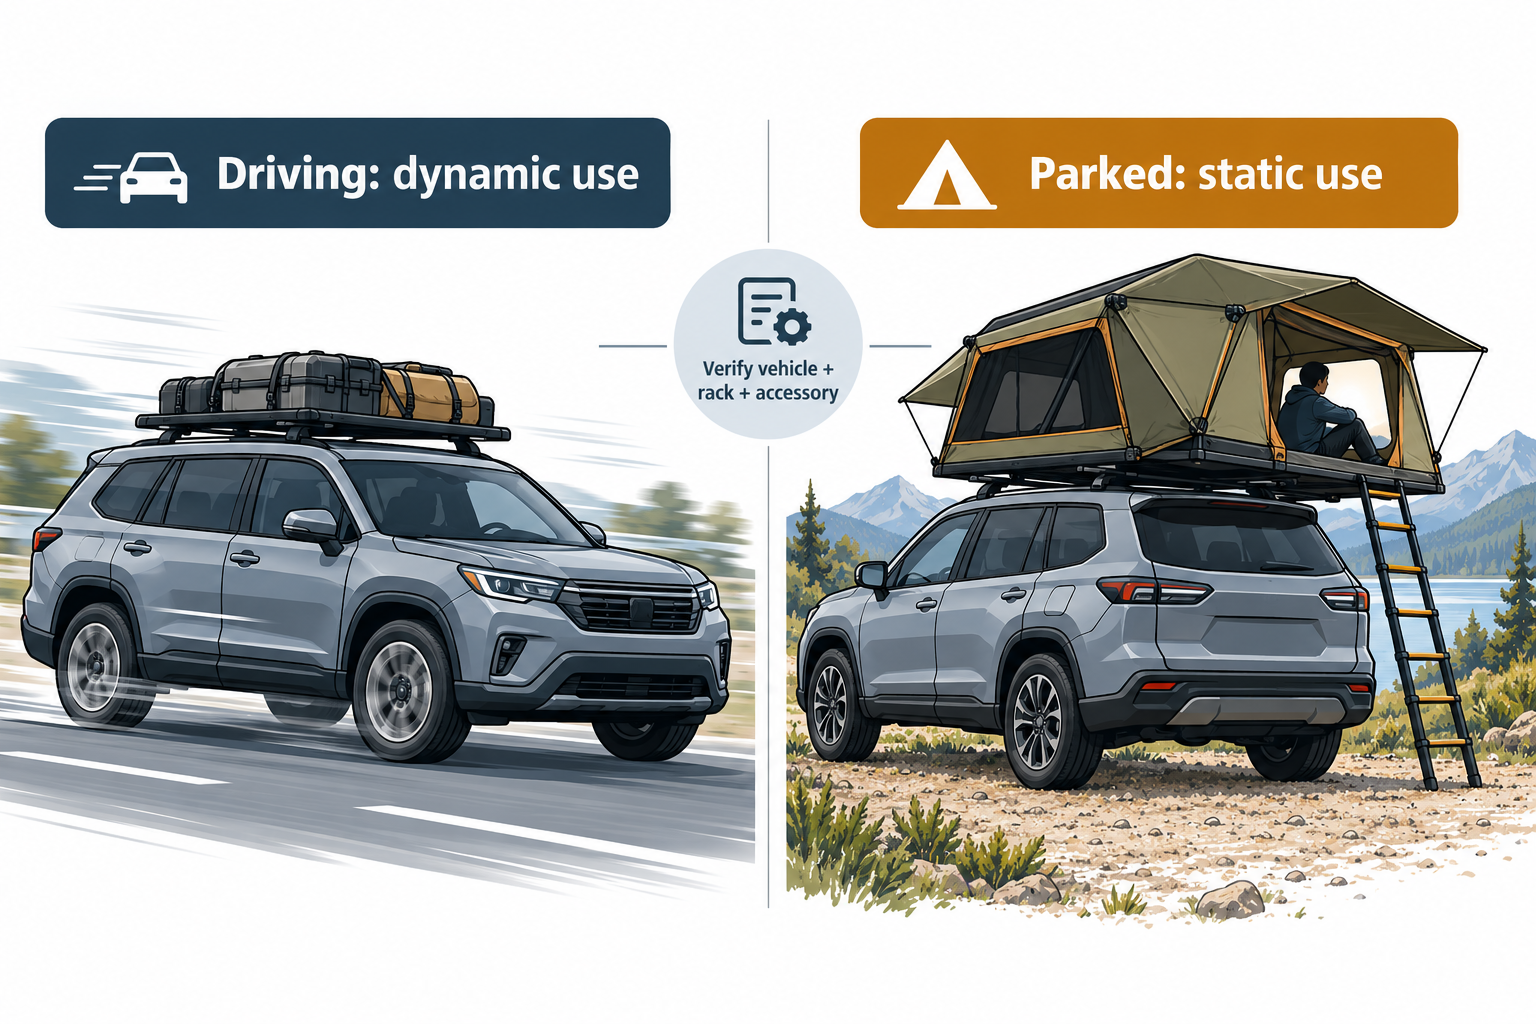 For more, see dynamic and static limits for rooftop tents.
If the vehicle roof or rack instructions are missing, conflict, or do not identify the planned tent and mount, pause and request confirmation. A rack guide’s general rooftop-tent guidance does not replace approval for the vehicle or the selected product combination.
Match the load to the attachment points
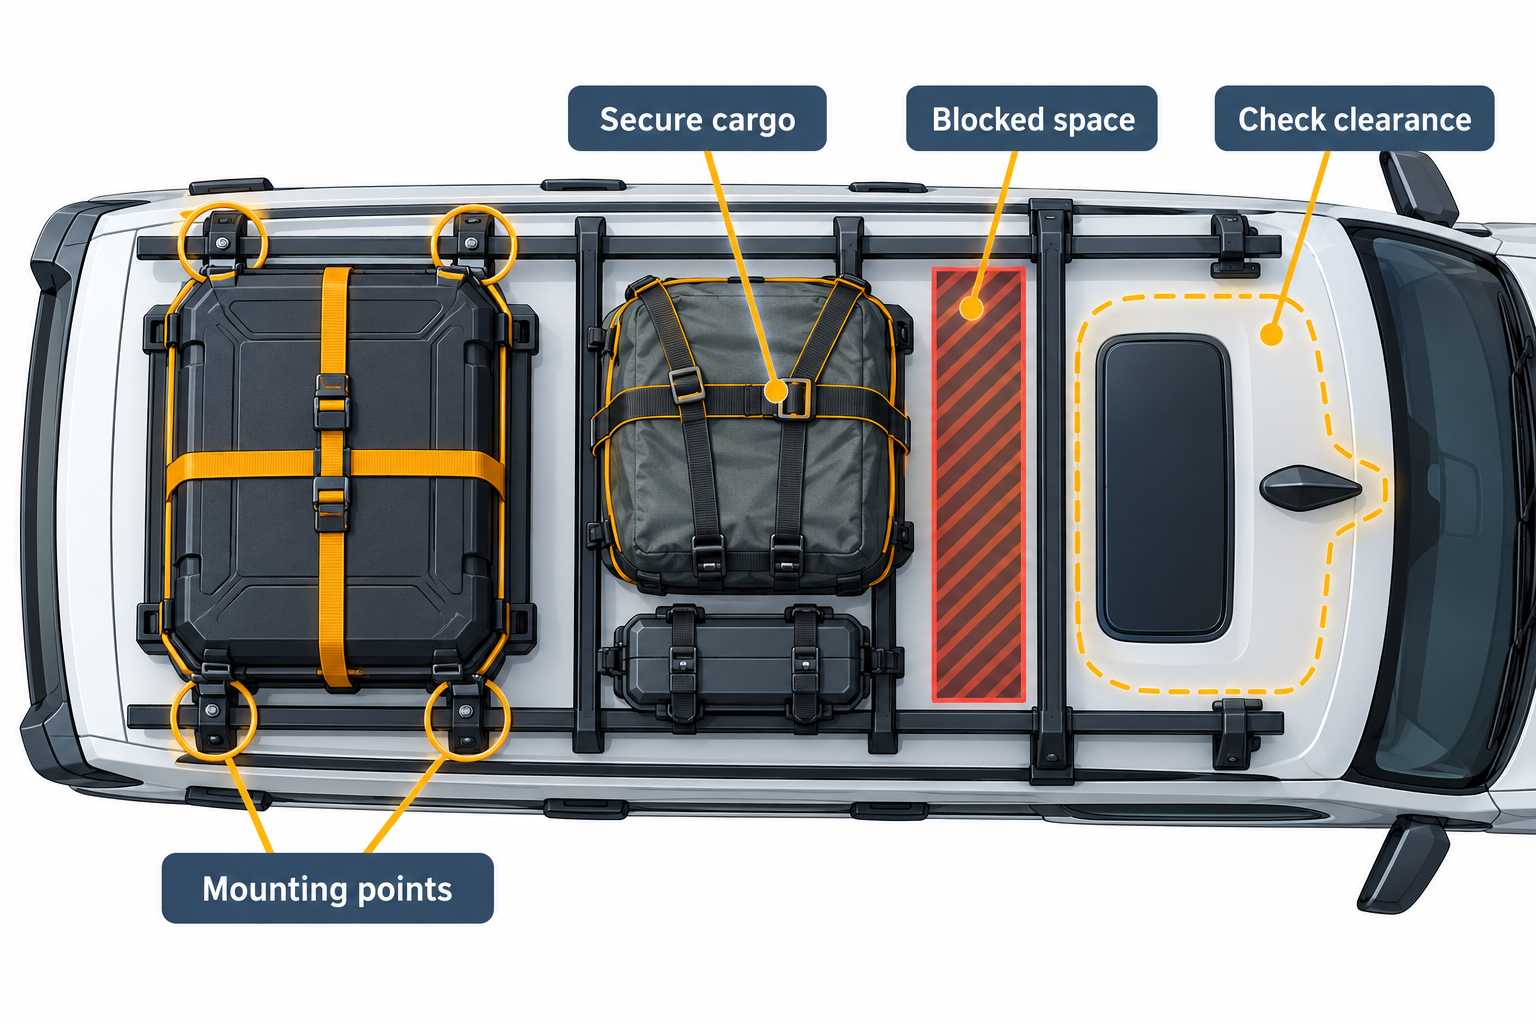
Use the accessory’s specified channel hardware, support points, and mounting orientation. Distribute cargo only as the product instructions permit, and keep weights and overhang within the stated limits. A fitting that physically enters a slot is not proof that it is the right fastener or that the accessory is supported there.
Mixed setups need special care. A box, tent, awning, jack, lights, and work equipment may compete for channel space, change clearance, or load the platform at different points. Verify each item’s platform interface and check whether its manufacturer addresses simultaneous use with the other equipment. If the combined arrangement is not covered, do not assume separate accessory approvals add together.
Secure and recheck before travel
Pack and secure cargo so it cannot shift, fall, or obscure the driver’s view. Use straps, a net, or other restraint suitable for the load and follow its maker’s instructions. Check doors, hatch, roof glass, lights, antennas, and total vehicle height. NHTSA’s secure-load guidance advises drivers to secure and double-check loads; the exact tie-down method depends on the cargo and mounting system.
After installation, use the rack and accessory makers’ specified fastener checks and inspection schedule. Rhino-Rack’s Pioneer 6 Flat Pack manual gives recheck guidance for that product family and describes more frequent inspection under some use conditions; do not treat that interval as a universal rule for every rack. Recheck whenever an instruction calls for it, especially after refitting or demanding travel.
Before departure, confirm that the parts list, limits, mounting instructions, cargo restraint, and clearances all agree. If the vehicle, rack, or accessory maker cannot confirm the setup, leave the uncertain equipment off until the exact answer is available.
Sources and product references
Use these references to check the current instructions and fit information for your market and exact setup.
- Rooftop Tent Guidelinesprimary
- How to pack safely with a roof boxprimary
- Drive Safe: Secure Your Loadprimary
- Caprock attachment guideprimary
- Pioneer Series 6 Flat Pack Fitting Instructionprimary