Use a documentation-led sequence to identify the right rack, prepare its contact points, install it with the specified tools, and follow its recheck schedule.
On this page
Roof-Rack Installation, Torque, and Recheck Workflow
Rack installation is a vehicle-and-product procedure, not a generic tightening task. The vehicle manual, fit guide, and instructions for the exact rack and accessory determine where parts go, which tools to use, and how tight each fastener must be. Never substitute a torque value or position from a different system.
Confirm the vehicle and kit
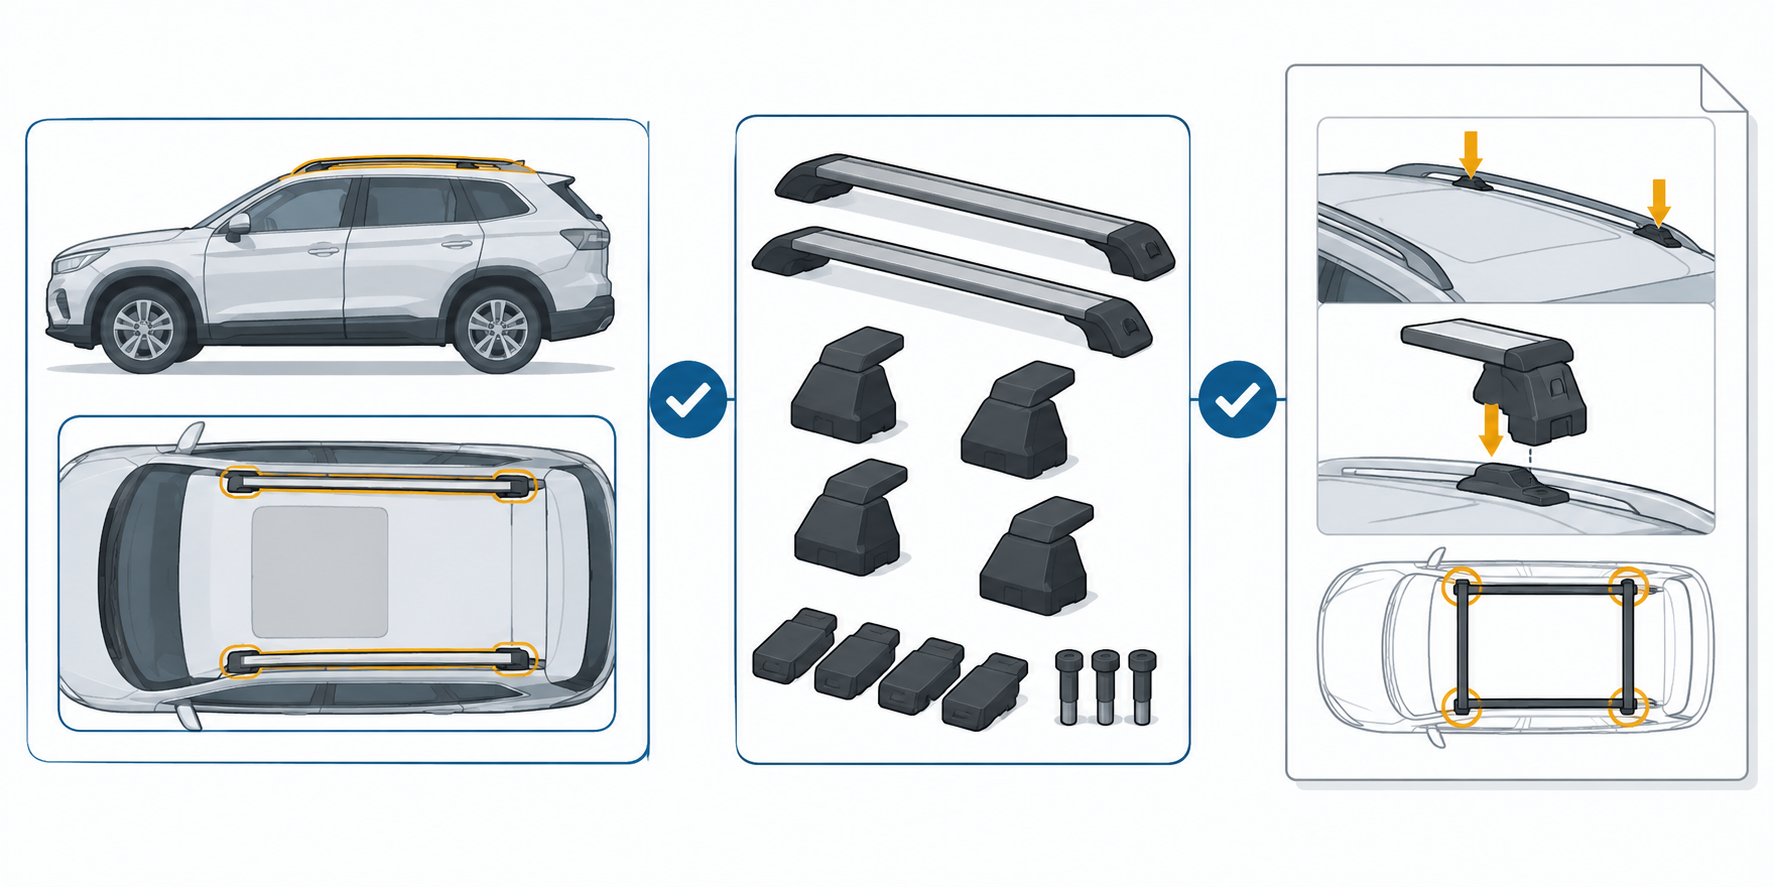
Before unpacking, match the vehicle’s market, year, body, roof configuration, and mounting points to the rack fit guide. Check every kit number and component against the instructions. Some procedures branch by roof-rail configuration or require a particular fit kit, crossbar, fastener, or supplied torque tool. If the vehicle or kit does not match, stop and resolve the difference with the manufacturer or an approved fitter.
Read the entire fitting sequence before starting. Note any steps that require a second person, bodywork removal, a special tool, a clean or dry contact surface, a glass-protection layer, or a specific installation order. If you cannot perform a step exactly as written, use a qualified fitter rather than improvising.
Install without guessing
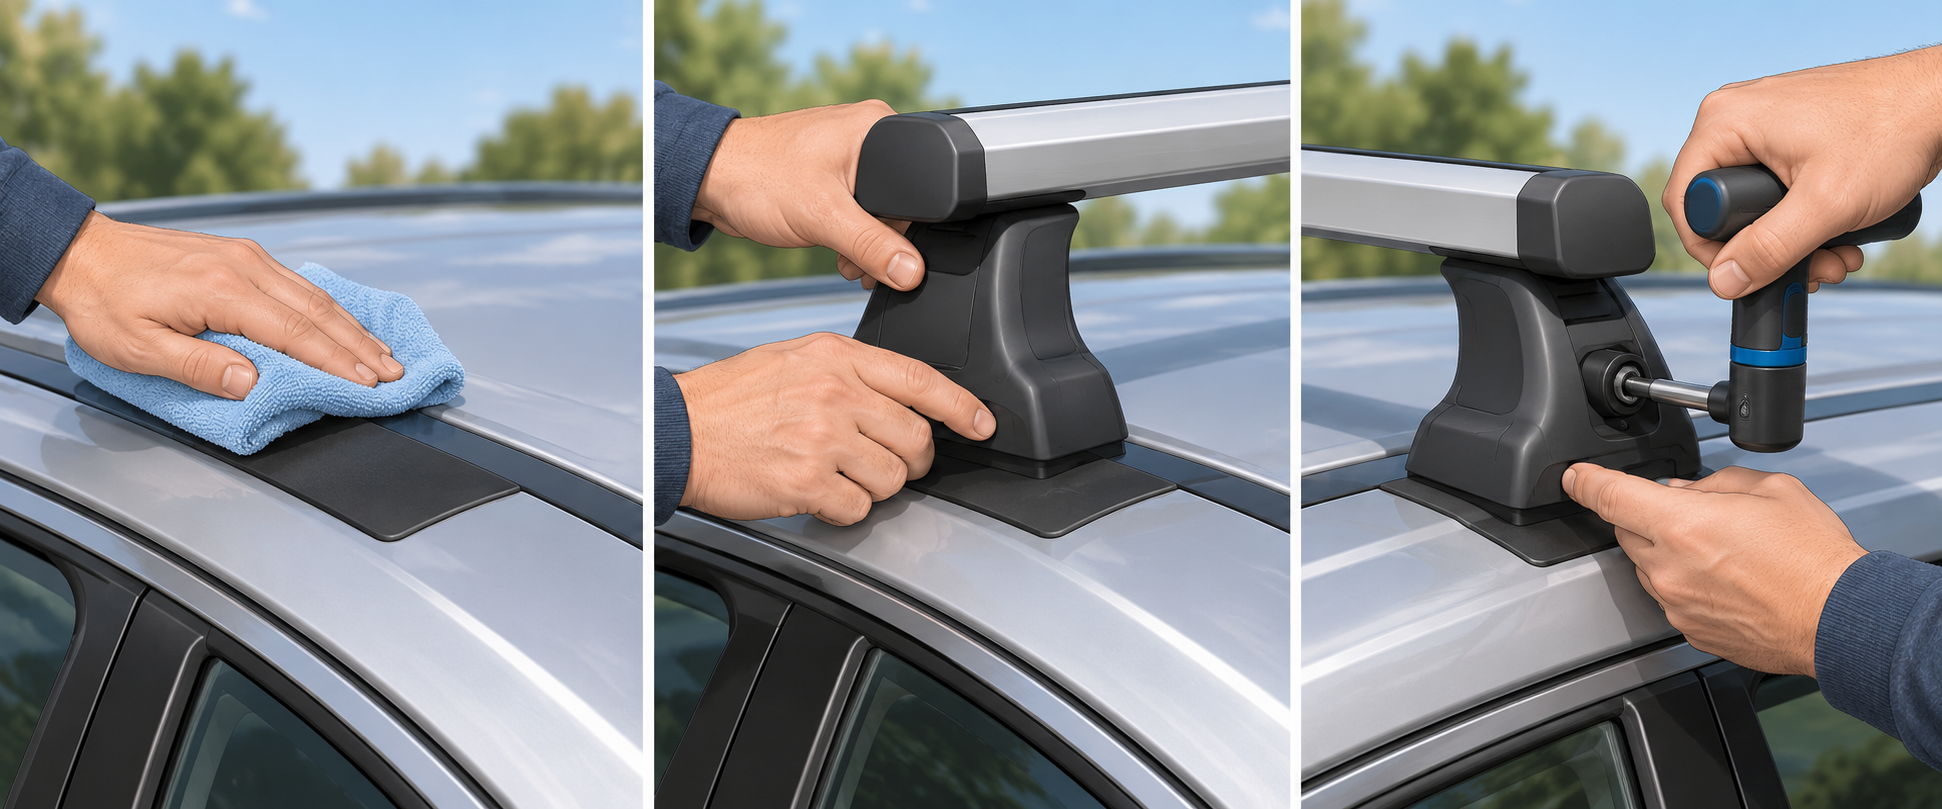
Work on a clean vehicle and clean hardware. Lay out the components and identify each foot, clip, fastener, pad, and bar by its label or diagram. Place the feet only at the documented points; tighten fasteners in the specified order and with the specified tool. Use a torque wrench only when the procedure calls for one and set it to that procedure’s value.
There is no cross-brand torque standard. A 2025 Polestar 2 load-carrier guide uses its supplied tool, tightened alternately until the tool clicks, and does not provide a universal numeric setting. A Land Rover Discovery versatile-rack instruction specifies 32 Nm for its named rack supports and different values for optional crossbar hardware. Those instructions are not interchangeable. The Tesla Model Y has its own glass-protection and location procedure; see the Tesla-specific guide.
Do not drill, trim, bend, modify, or replace a structural or mounting component unless the exact instructions explicitly require that operation with the specified part and tool. Stop if a clip will not engage, a foot will not sit flush as directed, a fastener cannot reach its specified condition, or a glass or painted surface is damaged.
Check the empty system before loading
After installation, check the rack in the way its maker specifies. This may include pushing or pulling each bar, confirming that clips are engaged, locking covers, checking that feet sit evenly, and opening the hatch or roof panel through its permitted movement. A rack that shifts or does not reach the documented lock position is not ready for cargo.
Record any instructions that apply to the load as well as the rack: capacity, bar spacing, accessory fit, securement, clearance, and speed or use limits. A rack’s rating does not establish that a particular carrier fits it.
Follow the exact recheck schedule
Recheck timing varies by product and vehicle. For example, Yakima’s BaseLine instructions call for a check before each journey, again after 30 miles or 30 minutes following installation or loading, and at intervals during longer or rough journeys. The Land Rover Discovery versatile-rack instructions specify torque checks after 60 km, 250 km, and 1,000 km. These schedules belong to those named systems; they are not a common schedule for all racks.
Follow the applicable manual after the first short drive and after changing any part of the setup. Inspect at the intervals the instructions specify, and check again if a load shifts, a strap loosens, the vehicle has crossed rough roads, or the rack has been left unattended. If instructions conflict or the required torque/tool is unavailable, do not choose a middle value or estimate by feel.

Sources and product references
Use these references to check the current instructions and fit information for your market and exact setup.